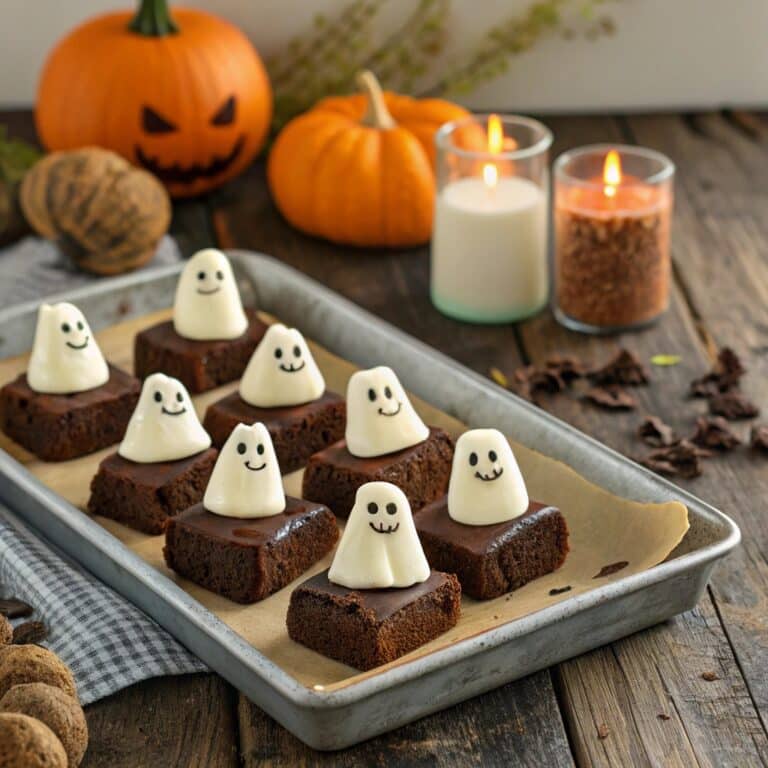
There’s something magical about baking Ghost Brownies. They’re playful, festive, and strike the perfect balance between rich chocolate flavor and creative decoration. In this article, we’ll dive into how to make the best brownie base, decorating ideas to bring your edible ghosts to life, fun variations, and smart storage tips so you can enjoy them fresh at any celebration. Whether you’re planning a Halloween party or just want a whimsical twist on a classic dessert, these ghostly treats will become a favorite in your kitchen.
Thank you for reading this post, don't forget to subscribe!Table of Contents
The Base Choosing or Making Your Brownie
Best Brownie Bases for Ghost Brownies
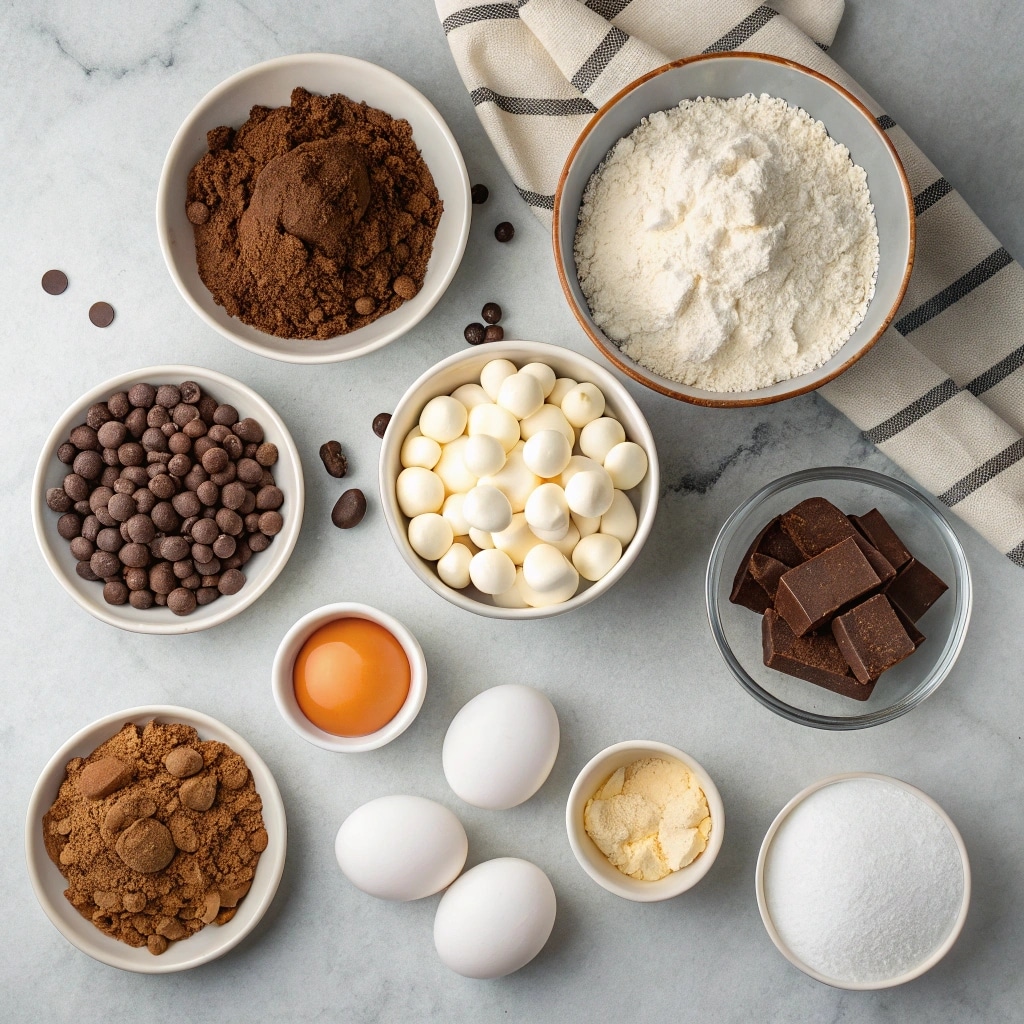
I’ve always believed that the heart of Ghost Brownies lies in the brownie itself. When I first baked a batch for a fall get-together, I couldn’t decide whether to use a boxed mix or make them from scratch. The truth is, both work beautifully. If you’re short on time, a good-quality box mix can save the day, but if you want something extra special, homemade brownies let you control the richness and texture. Fudgy Ghost Brownies come from using melted chocolate with cocoa powder, while cakier versions use more eggs and flour. Adding a handful of chocolate chips gives each bite a gooey surprise. Some bakers even swirl in caramel or peanut butter for a fun twist.
Print
Fudgy Ghost Brownies with a Scary-Cute Twist
- Total Time: 50 minutes
- Yield: 12 brownies
- Diet: Vegetarian
Description
Playful and festive Ghost Brownies with a rich chocolate base, topped with marshmallow or white chocolate ghosts, perfect for Halloween or any spooky celebration.
Ingredients
- 1 box brownie mix (or homemade brownie batter)
- 1 cup chocolate chips (optional)
- 12 large marshmallows
- 1 1/2 cups white chocolate or candy melts
- Black gel icing or edible marker for faces
- Optional flavor add-ins: caramel, peanut butter, cream cheese, pumpkin purée, espresso
Instructions
- Prepare the brownie mix or homemade batter according to package or recipe instructions.
- Pour into a parchment-lined baking pan and bake until set (fudgy or cakey based on preference).
- Let brownies cool completely, then chill for 30 minutes before cutting into squares.
- Place a marshmallow on each brownie square.
- Melt white chocolate or candy melts and pour over each marshmallow to create ghost shapes.
- Allow coating to set, then add eyes and mouths with black gel icing, edible marker, or chocolate chips.
- Store in an airtight container at room temperature for up to 3 days, or refrigerate if warm.
- For longer storage, freeze undecorated brownies up to 2 months, then thaw and decorate before serving.
Notes
Experiment with variations like cream cheese swirls, caramel ribbons, or pumpkin purée. Decorate ghosts with different expressions for playful variety.
- Prep Time: 20 minutes
- Cook Time: 30 minutes
- Category: Dessert
- Method: Baking
- Cuisine: American
On RecipebyClara’s pumpkin bars page, I shared how seasonal ingredients can transform classics, and the same creativity works perfectly here. Just remember choose flavors you love, because the brownie base sets the stage for your ghostly decorations.
Baking Tips for Perfect Texture
Getting the texture right is key. If you’re aiming for fudgy Ghost Brownies, pull them out of the oven when the center is just set but still slightly soft. For chewier brownies, bake a few minutes longer until a toothpick comes out with only a few crumbs. Always line your pan with parchment paper so you can lift the brownies out easily before decorating. Cooling is another step you don’t want to rush warm brownies can make marshmallow or chocolate ghosts slide right off.
I’ve found that chilling them for about 30 minutes before cutting creates clean edges and makes decorating a breeze. Much like the careful roasting I use in my pumpkin soup recipe, attention to timing turns simple ingredients into something extraordinary. By giving your brownies the right care in the oven, you’ll have the perfect canvas for your ghostly creations.
Decorating Ghost Brownies
Ghost Toppers Marshmallows, White Chocolate, Candy Shapes
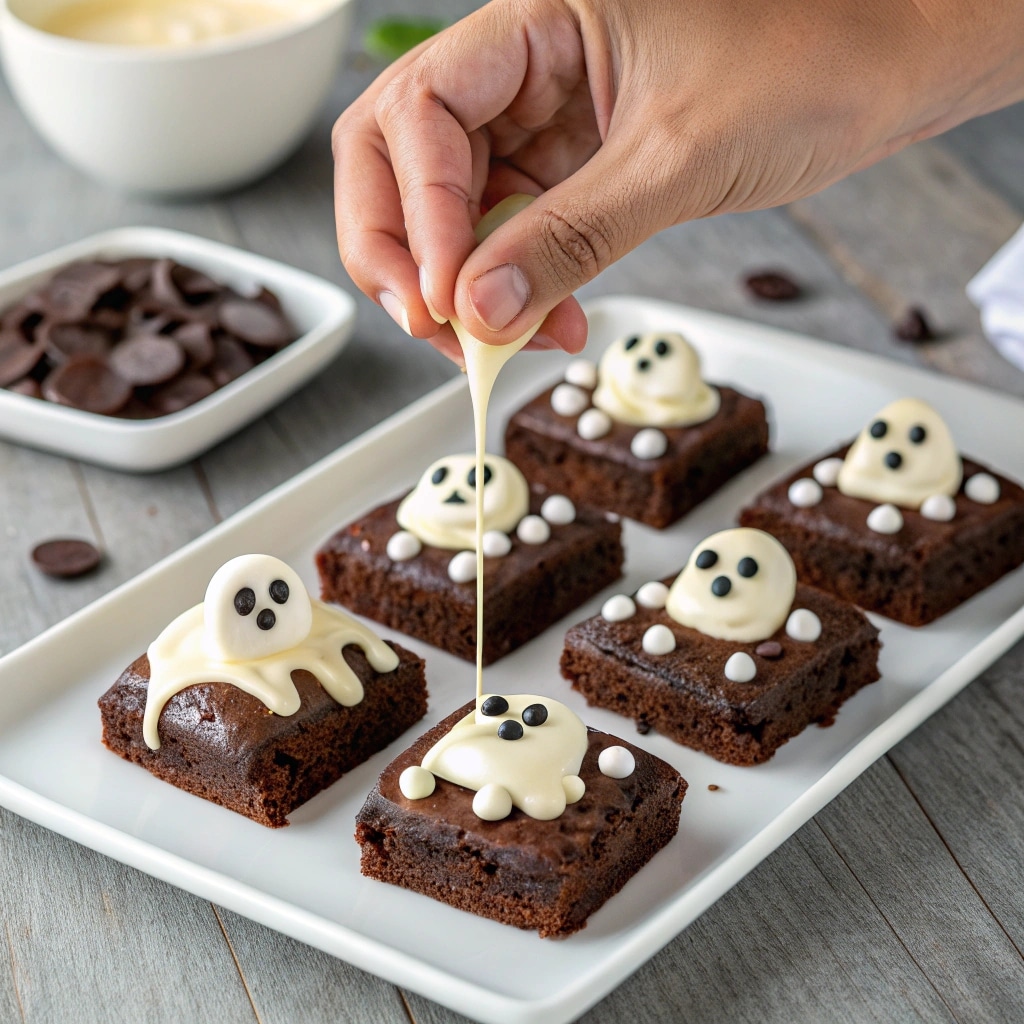
Once your brownies are baked and cooled, it’s time for the fun part decorating! Marshmallows are the easiest way to create Ghost Brownies. Place one on each square, then cover it with melted white chocolate or candy melts to form the ghostly shape. If you prefer a sleeker look, mold ghosts directly from melted white chocolate using a spoon or piping bag. Both methods work, but marshmallows add a playful puffiness while molded chocolate ghosts stay firm for longer.
I love experimenting with both depending on the occasion. Just like the way I layered flavors in my pumpkin mac and cheese, you can layer creativity here by mixing ghost shapes some tall, some rounded for a more dynamic platter. These little variations make your brownies stand out at any gathering.
Facial Features Eyes & Mouth Ideas
No ghost is complete without spooky expressions. You can draw tiny eyes and mouths with black gel icing, edible markers, or a drizzle of melted dark chocolate. The trick is to wait until the coating on your Ghost Brownies has set; otherwise, the features may smudge. For a dramatic effect, try using mini chocolate chips for eyes or a tiny candy pearl for a surprised ghost face. The process reminds me of how much fun it is to garnish dishes like my pumpkin curry, where a final touch brings the whole dish to life.
When decorating, keep it lighthearted let some ghosts smile, others look shocked, and maybe even add one or two with a wink. The variety adds personality and charm, making your brownies as entertaining as they are delicious.
Variations & Flavor Twists
Flavor Add-ons & Mix-ins
The best part about Ghost Brownies is how easily you can play with flavors. A swirl of cream cheese turns them into ghost cheesecake brownies, adding tangy richness that contrasts beautifully with chocolate. If you love extra indulgence, fold in caramel or peanut butter before baking for ribbons of flavor in every bite. Seasonal twists also shine pumpkin purée brings a subtle sweetness, while a touch of espresso deepens the chocolate. In my pumpkin dip recipe, I showed how simple ingredients can elevate a classic; the same mindset works here.
Don’t be afraid to toss in a handful of nuts, crushed cookies, or even candy corn for a fun crunch. These little details keep Ghost Brownies exciting and allow you to customize them for any occasion.
Dietary Variations: Gluten-Free, Lighter, etc.
If you’re baking for a crowd, chances are someone will ask about dietary alternatives. Luckily, Ghost Brownies adapt well to gluten-free mixes or homemade blends made with almond or oat flour. For a lighter option, try reducing the sugar and replacing butter with avocado or Greek yogurt. Non-dairy chocolate chips and coconut cream can substitute for traditional ingredients without sacrificing flavor. Just like I did with my pumpkin chili, small adjustments make recipes more inclusive while keeping them delicious.
The key is to test your substitutions in small batches before serving a crowd. That way, you’ll know your ghostly treats taste just as good as the original. With a few thoughtful swaps, you can make brownies everyone will love even those with special dietary needs.
Storage, Make-Ahead, and Serving
How to Store Ghost Brownies to Keep Freshness & Decoration Intact
Once your Ghost Brownies are decorated, keeping them fresh is key. At room temperature, they’ll stay soft for up to three days if stored in an airtight container. If your kitchen is warm or humid, refrigerating helps the marshmallow or white chocolate ghosts keep their shape, though brownies may firm up slightly. To freeze, wrap each brownie individually in parchment and place them in a sealed bag; they’ll last up to two months. When thawing, let them sit at room temperature so the decorations don’t sweat. This careful storage approach is similar to the tips I shared in my pumpkin bars guide protecting textures ensures every bite feels fresh and satisfying.
Make Ahead Tips & Serving Suggestions
Ghost Brownies are perfect for parties because you can prep them in advance. Bake the brownie base a day or two before, then decorate closer to serving time to keep the ghosts looking neat. If you’re short on time, you can even prepare the ghost toppers separately, store them, and place them on brownies just before serving. Presentation matters too stack them on a platter for a casual vibe or arrange them neatly on a cake stand for something more polished.
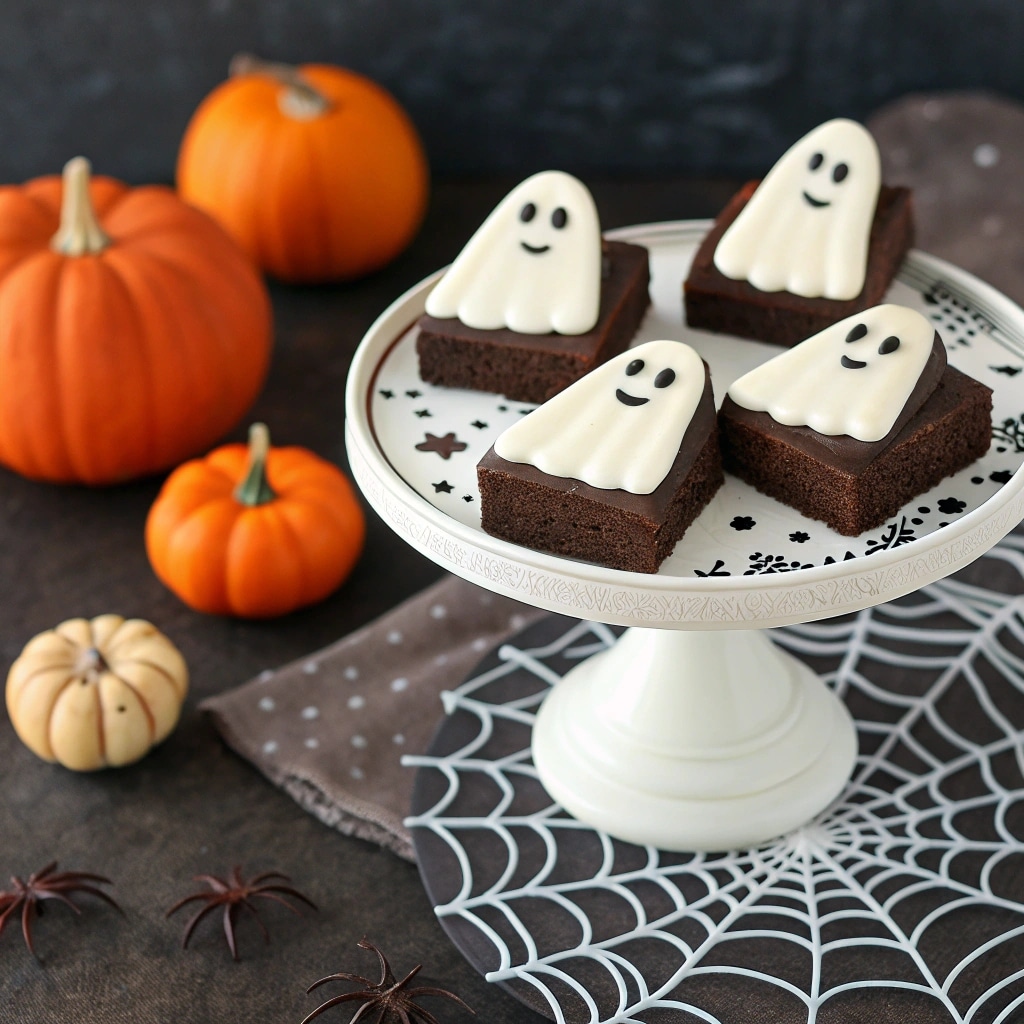
I love pairing them with warm drinks like cider or coffee, much like I recommend with my cozy pumpkin soup. Whether served at a classroom party, family gathering, or Halloween night, these spooky treats always earn smiles and second helpings.
FAQs
How do you make ghost brownies at home?
Start by baking your favorite brownies boxed or homemade then let them cool completely. Place a marshmallow on top of each square and cover it with melted white chocolate or candy melts to form the ghost. Finish by adding eyes and a mouth with gel icing, chocolate, or candy pieces.
What’s the best way to decorate brownies to look like ghosts?
Marshmallows make the easiest base, but you can also shape ghosts from melted white chocolate or candy melts. Add faces using black gel icing or edible markers, making sure the coating is set before decorating so designs don’t smudge.
Can ghost brownies be made ahead of time?
Yes! You can bake the brownies up to two days in advance and store them in an airtight container. Decorate them the day you plan to serve for the freshest look and taste. For longer storage, bake and freeze the brownie base, then thaw and decorate before serving.
How do you store ghost brownies to keep them fresh?
Keep them in an airtight container at room temperature for up to three days. If your home is warm, refrigerate them to help the ghosts hold their shape. For long-term storage, freeze undecorated brownies for up to two months and decorate once thawed.
Conclusion
Ghost Brownies are more than just a Halloween treat they’re a way to bring creativity, fun, and flavor together in one bite. From choosing the perfect brownie base to experimenting with marshmallow ghosts, candy coatings, and unique faces, every step lets you add your own touch. Flavor twists like pumpkin, caramel, or cheesecake swirls make them even more exciting, while smart storage and make-ahead tips ensure they’re always party-ready. Whether you serve them at a family gathering or pack them up for school celebrations, these ghostly desserts will always deliver smiles. So gather your ingredients, unleash your creativity, and let your kitchen become the stage for these spooky little stars.
If you’re looking for another family-friendly idea, check out my Follow us on Facebook for fresh new recipes, cooking tips, and food inspiration every week!

