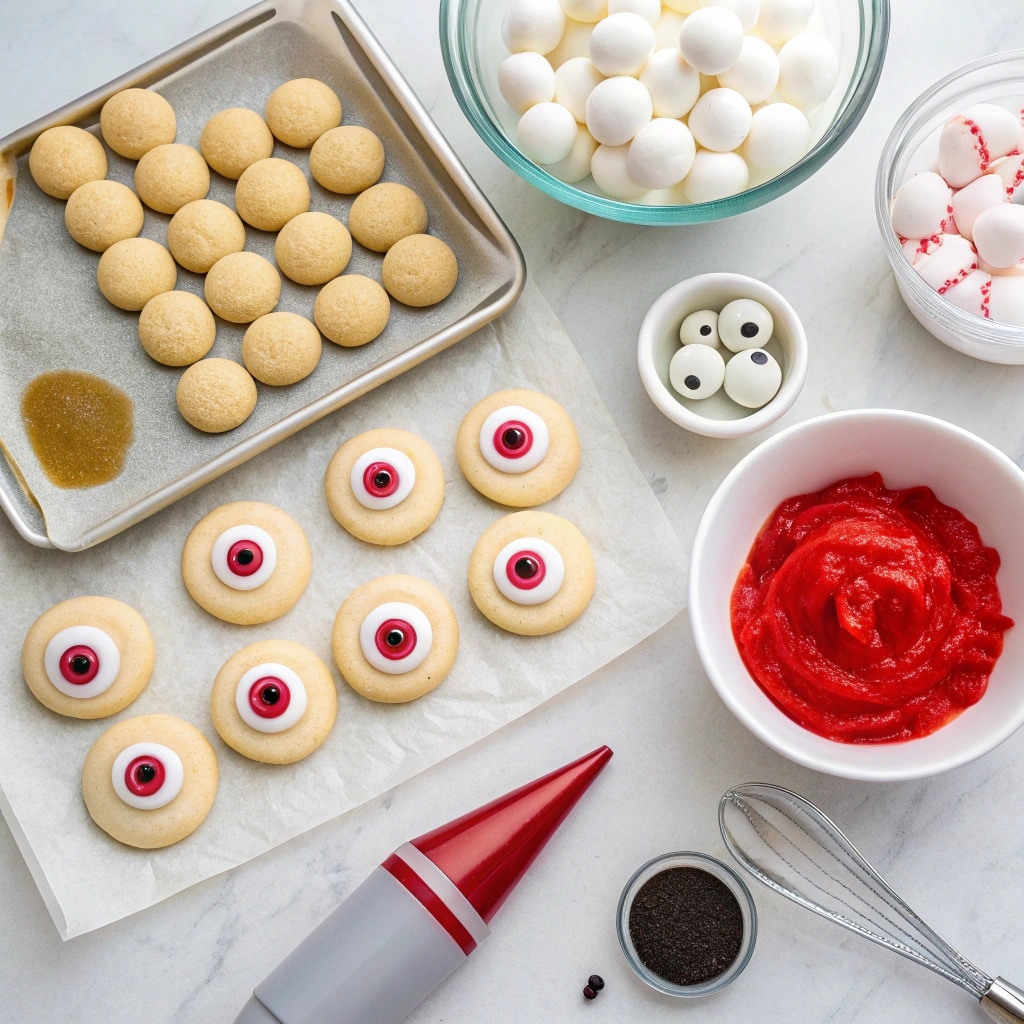
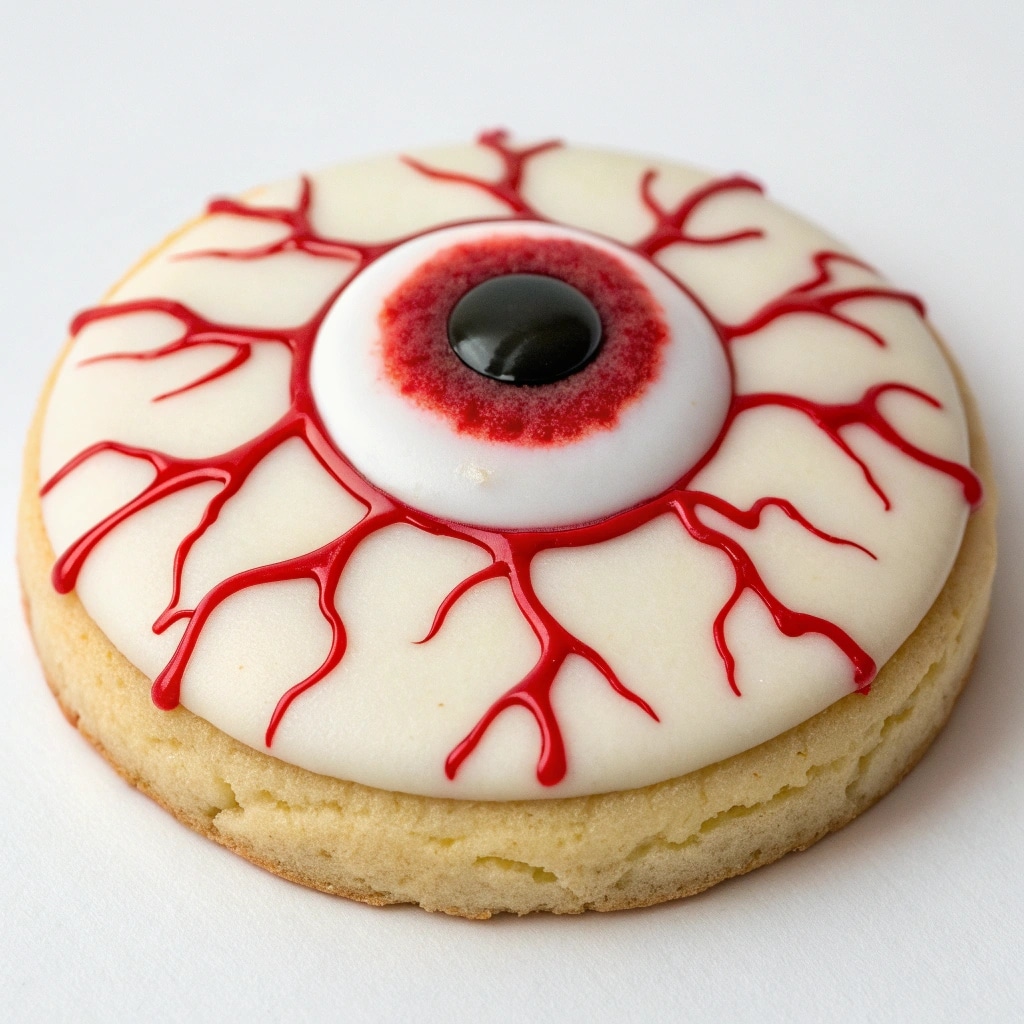
I’ve been craving a spooky twist on my usual cookie nights, and Creepy Eyeball Cookies came to the rescue. The first time I baked them, I remember how my nephew gasped (in a good way) when those candy eyes stared back at him, perched on creamy frosting, red veins poking out just enough to feel delightfully eerie. Creepy Eyeball Cookies aren’t just for Halloween they bring together sweetness, fun, and a little scare in each bite. In this article I’ll share everything you need to know: what ingredients to choose, how to bake without a meltdown, decorating secrets, and creative variations so you can make the perfect spooky treat.
Thank you for reading this post, don't forget to subscribe!Table of Contents
The Story & Intro
When I first tried making Creepy Eyeball Cookies, it was on a dark October evening, thinking they’d be simple fun. I pulled out sugar cookie dough, candy eyeballs bought weeks ahead, red gel, and some royal icing. As I piped the frosting and pressed the eyes into place, the kitchen smelled warm and sweet but that moment when I dragged red gel outwards to form veins? That’s when I really felt the creepiness. The cookies came out a little imperfect, but the laughter and wide eyes around the table made them perfect. From that moment, Creepy Eyeball Cookies became a staple in my autumn baking, something I make every year, something everyone expects.
Creepy Eyeball Cookies combine a fun visual shock with delicious cookie basics. The key is balancing spookiness (eyeball candy, bloodshot red lines) with flavor (buttery sugar, vanilla, or even chocolate base), texture (soft inside, slightly firm outside), and decoration that doesn’t melt away. Whether you’re baking for kids, friends, or a Halloween party, these cookies hit all the right notes: creepy, cute, and downright irresistible. You’ll see the keyword Creepy Eyeball Cookies again (and again!) as we go through ingredients, tools, recipe, variations, and how to avoid baking disasters.
Print
Creepy Eyeball Cookies That Stare Back at You
- Total Time: 30 minutes
- Yield: 24 cookies
Description
Creepy Eyeball Cookies are spooky, sweet, and fun — perfect for Halloween nights or anytime you want to add a little eerie flair to dessert.
Ingredients
- 2 1/2 cups all-purpose flour
- 1 cup unsalted butter, softened
- 1 cup granulated sugar
- 1 large egg
- 1 teaspoon vanilla extract
- 1/2 teaspoon baking powder
- 1/2 teaspoon salt
- Candy eyeballs
- White chocolate chips or candy melts
- Red gel icing or edible marker
- Optional: food coloring for dough
Instructions
- Preheat oven to 350°F (175°C) and line baking sheets with parchment paper.
- In a large bowl, cream together butter and sugar until fluffy. Beat in egg and vanilla.
- Whisk flour, baking powder, and salt in a separate bowl. Gradually add to the wet mixture to form dough.
- Chill dough for at least 30 minutes to prevent spreading.
- Roll into 1-inch balls and place on prepared baking sheet. Optionally press a small cavity in the center.
- Bake 8–10 minutes until edges are just golden. Do not overbake.
- Press a chocolate melt or wafer into the center while cookies are warm. Cool completely before decorating.
- Spread melted white chocolate on center base and quickly place a candy eyeball.
- Use red gel to draw veins outward from the eyeball. Let set on a cooling rack.
Notes
Chill dough before baking to help cookies hold shape. Decorate only when cookies are fully cooled for best results.
- Prep Time: 20 minutes
- Cook Time: 10 minutes
- Category: Dessert
- Method: Baking
- Cuisine: American
Ingredients & Tools You’ll Need for Creepy Eyeball Cookies
Making Creepy Eyeball Cookies starts with the right ingredients and a few simple tools. The cookie base is where the flavor begins, and from there, decorations bring the spooky fun to life. Choosing wisely means your cookies taste amazing while holding their creepy look long enough to impress your guests.
The Cookie Base
Most bakers use sugar cookie dough for Creepy Eyeball Cookies because it’s sturdy yet soft. A buttery sugar cookie keeps its shape and doesn’t overshadow the decorations. You can also try chocolate cookie dough for a darker, moodier backdrop. Some readers have loved my classic sugar cookie recipe as their go-to base before adding the eyeballs. If you want a quick option, pre-made dough works too, though making it from scratch gives you that homemade warmth that always wins at parties.
To avoid spreading, keep the dough chilled before rolling. Using parchment paper on your baking sheet helps cookies bake evenly. If you’ve enjoyed making holiday cookies, you’ll see this process feels familiar just with a spooky twist.

Decorations and Tools
Now comes the fun part: decorating. You’ll need candy eyeballs, which are available in most baking aisles, or you can make your own with royal icing. White chocolate chips or candy melts create the “eyeball white,” while food coloring gels give you bold, dramatic effects. Red gel icing works wonders for veins, but you can also use edible markers for precision.
Don’t forget small piping bags or squeeze bottles for neat detailing. A cooling rack is essential for letting icing set without smudges. Once you’ve gathered these basics, you’re ready to transform simple cookies into something spectacularly eerie.
Step-by-Step Recipe Instructions
Once your ingredients and tools are ready, it’s time to bring these Creepy Eyeball Cookies to life. Baking them is straightforward, but a few details help you avoid flat cookies or messy decorations. Follow these steps to get cookies that are as delicious as they are spooky.
Baking the Cookies
Start by preheating your oven to 350°F (175°C). Roll your chilled dough into 1-inch balls and place them on a parchment-lined baking sheet, leaving space for slight spreading. If you prefer thumbprint cookies, press gently into the center to create a cavity for chocolate or candy melts later. Bake for 8–10 minutes until edges are just golden but centers stay soft. Overbaking makes them too crisp and harder to decorate.
As soon as you remove the cookies from the oven, press a chocolate melt or a flat candy wafer into the center. This step creates the base for your eyeball whites. Let the cookies cool completely before decorating to avoid melted, sliding details. If you’ve tried recipes like my classic thumbprint cookies, the technique feels similar, but here it sets the stage for spooky fun.
Decorating Techniques
Once cooled, drizzle or spread melted white chocolate over the center base. Quickly press a candy eyeball in place while the chocolate is still soft. If you’re making your own eyes, pipe a white icing circle, add a colored candy piece in the middle, and finish with a small black dot for the pupil.
For veins, use red gel icing and drag it outward from the eyeball center to mimic bloodshot lines. Food coloring brushes or edible markers also work well for adding detail. The key is contrast: bright whites, deep pupils, and just-creepy-enough red streaks. A steady hand helps, but remember—they don’t need to look perfect. The fun of Creepy Eyeball Cookies is in their quirky, slightly eerie imperfections.

Variations, Tips & Troubleshooting for Creepy Eyeball Cookies
The best part about Creepy Eyeball Cookies is how easy it is to customize them. Whether you want something kid-friendly or truly eerie for a Halloween party, these variations and tips will keep your baking fun and stress-free.
Fun Variations
For an extra colorful twist, try adding food coloring to your cookie dough before baking. Green or purple dough makes the eyeballs pop even more. You can also press mini marshmallows into the center of the dough before baking, then cover them with white chocolate for a gooey eyeball effect. If you’re a fan of darker flavors, swap sugar cookie dough with chocolate cookie dough for a moody, midnight vibe.
Another crowd-pleaser is using vanilla wafers topped with melted candy coating and candy eyes, a no-bake shortcut that’s perfect for last-minute party prep. If you loved the way my easy Halloween treats came together quickly, you’ll appreciate this simplified version too. These variations make Creepy Eyeball Cookies versatile enough for any level of baker.
Troubleshooting & Storage
Sometimes decorations don’t cooperate, but a few tricks will help. If your candy eyes slide off, let the base layer (chocolate or icing) set slightly before pressing them in. When red gel looks too thick, thin it with a toothpick to make finer bloodshot lines. Chilling the dough before baking always helps prevent spreading, so don’t skip that step.
For storage, keep decorated cookies in an airtight container at room temperature for up to three days. If you want to prepare ahead, bake the cookies first and decorate them the day you plan to serve. This way, the details stay crisp and vibrant. The process is similar to storing classic family cookies, but with the added care of protecting delicate decorations.
Frequently Asked Questions About Creepy Eyeball Cookies
What ingredients make Creepy Eyeball Cookies spooky and effective?
Creepy Eyeball Cookies usually use a sugar cookie base, candy melts or white chocolate for the eyeball whites, and candy eyes or colored gel for pupils. Red gel icing or melted chocolate adds bloodshot veins, giving them that spooky Halloween effect.
How do I bake Creepy Eyeball Cookies without making them melt or lose shape?
Chill the dough for at least 30 minutes before baking to prevent spreading. Always bake on parchment paper or a silicone mat for best results. Avoid overmixing the dough, which softens it and makes cookies flatten in the oven.
Can Creepy Eyeball Cookies be made ahead, and how do you store them?
Yes, you can make them 2–3 days in advance. Store fully decorated cookies in an airtight container at room temperature. For fresher details, bake the cookies ahead and decorate them on the day you plan to serve.
What icing or decorating techniques work best for making realistic eyeballs?
Dip cookies in melted white chocolate or coat them with royal icing for the whites. Place a candy eye or piped icing pupil in the center, then use red gel to draw veins. A small black icing dot or edible marker gives the perfect finishing touch.

Conclusion
Baking Creepy Eyeball Cookies is more than just making a Halloween dessert it’s about creating a moment that mixes fun, laughter, and just the right amount of fright. From choosing the perfect cookie base to adding those spooky red veins, every step turns simple ingredients into an unforgettable treat. These cookies never fail to spark conversations at parties, especially when the “eyes” seem to follow guests around the room.
I hope this recipe inspires you to bring a little creativity into your kitchen this season. Whether you stick with classic sugar cookies or try bold variations, the key is enjoying the process as much as the final bite. So grab your candy eyes, prep your dough, and get ready to bake a batch of Creepy Eyeball Cookies that everyone will remember long after Halloween night. If you’re looking for another family-friendly idea, check out my Follow us on Facebook for fresh new recipes, cooking tips, and food inspiration every week!

