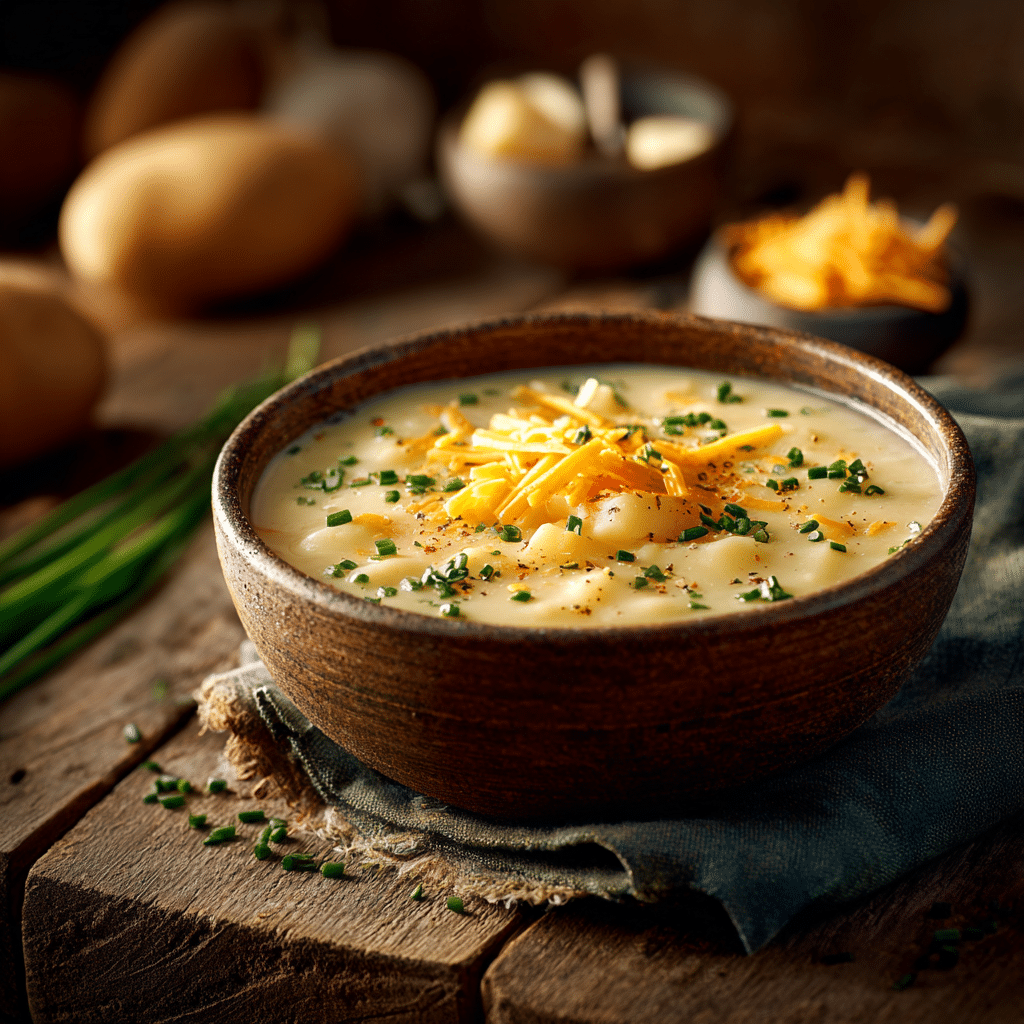
Cheddar Garlic Herb Potato Soup October 6, 2025 by Chef clara If you’ve been craving a cozy, creamy meal that feels …Continue Reading
Marshmallow Pumpkin Pie October 6, 2025 by Chef clara The Story & Introduction Hi there! I’m Clara, the heart …Continue Reading
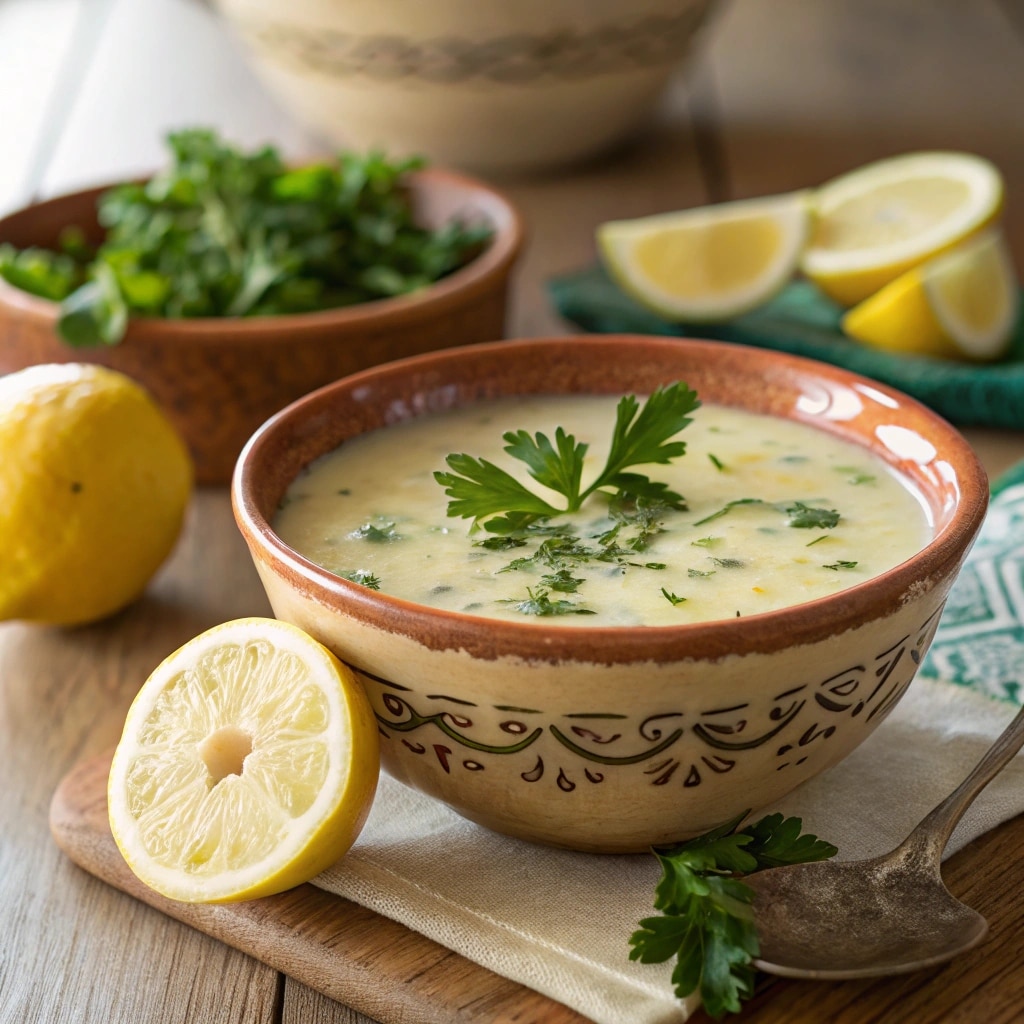
Avgolemono Soup: Authentic Greek Comfort with Lemon and Egg October 3, 2025 by Chef clara When it comes to comfort food, Avgolemono Soup is one …Continue Reading
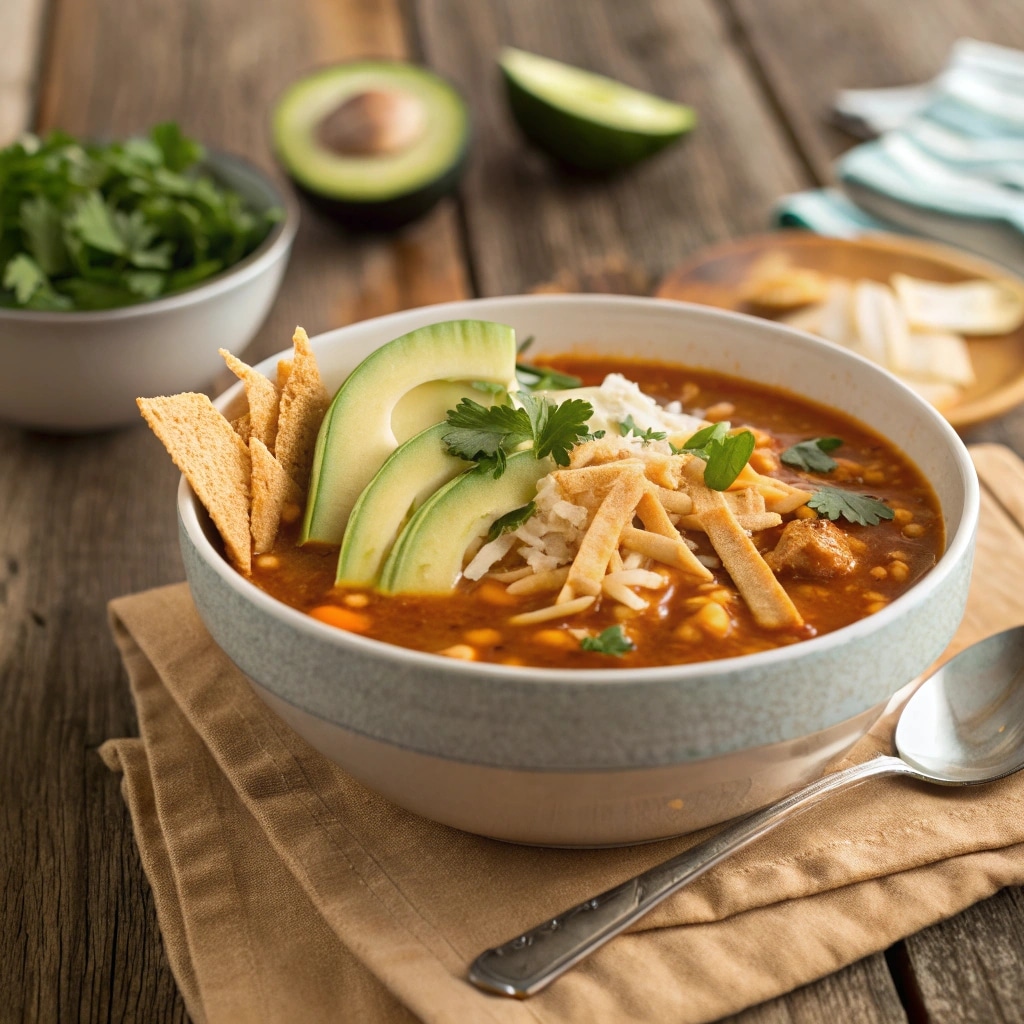
Chicken Enchilada Soup: A Comforting, Flavor-Packed Bowl October 3, 2025 by Chef clara Few dishes strike the perfect balance between comfort and bold …Continue Reading
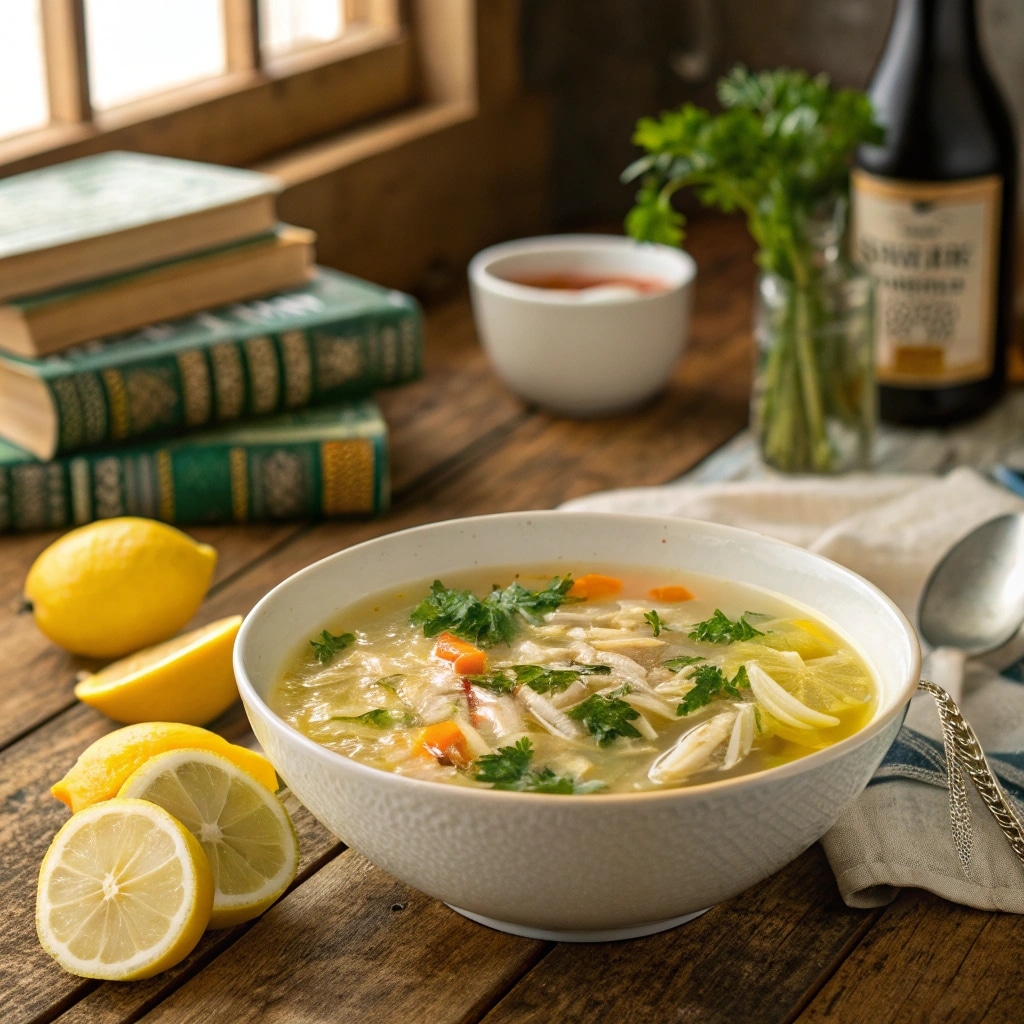
Lemon Chicken Orzo Soup : Comforting & Refreshing Recipe October 3, 2025 by Chef clara Lemon Chicken Orzo Soup is one of those dishes that …Continue Reading
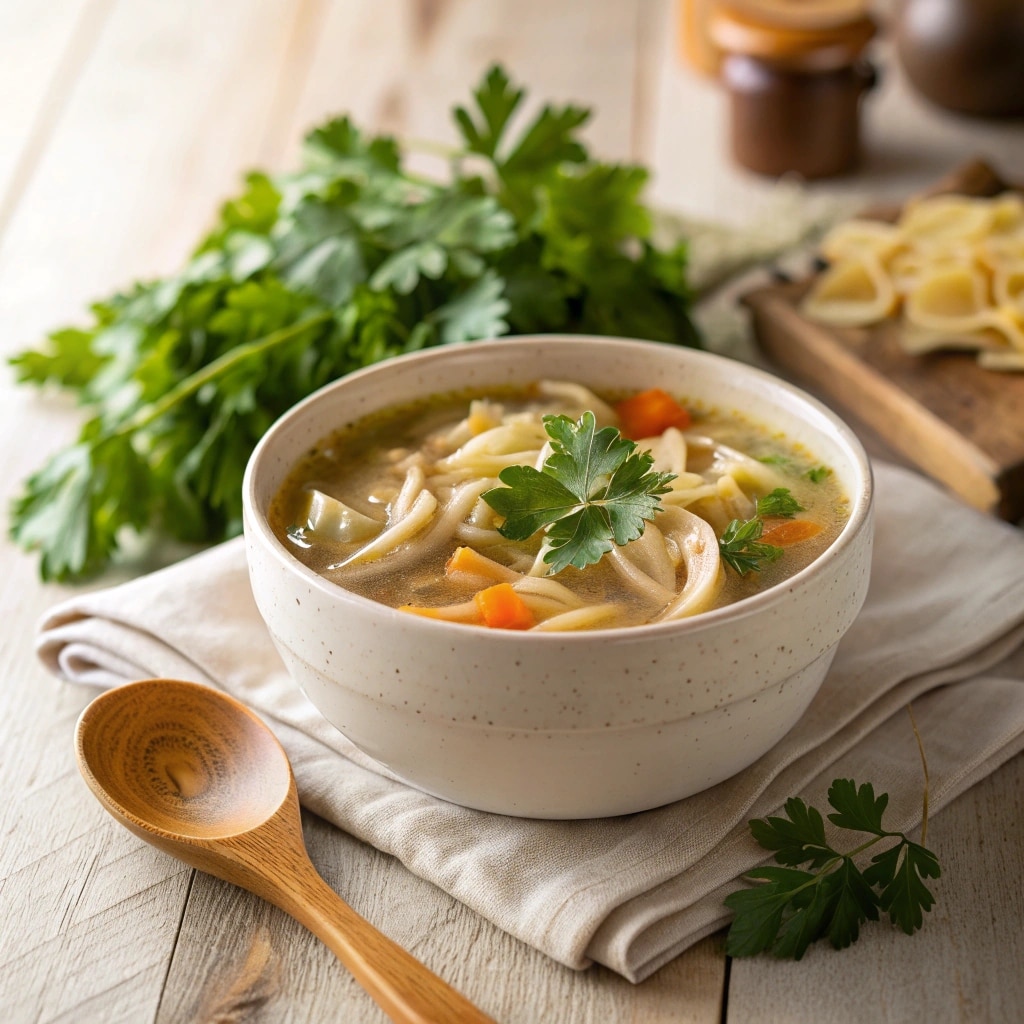
Chicken Noodle Soup: A Classic Comfort Food October 3, 2025 by Chef clara Few dishes are as iconic as chicken noodle soup. It’s …Continue Reading
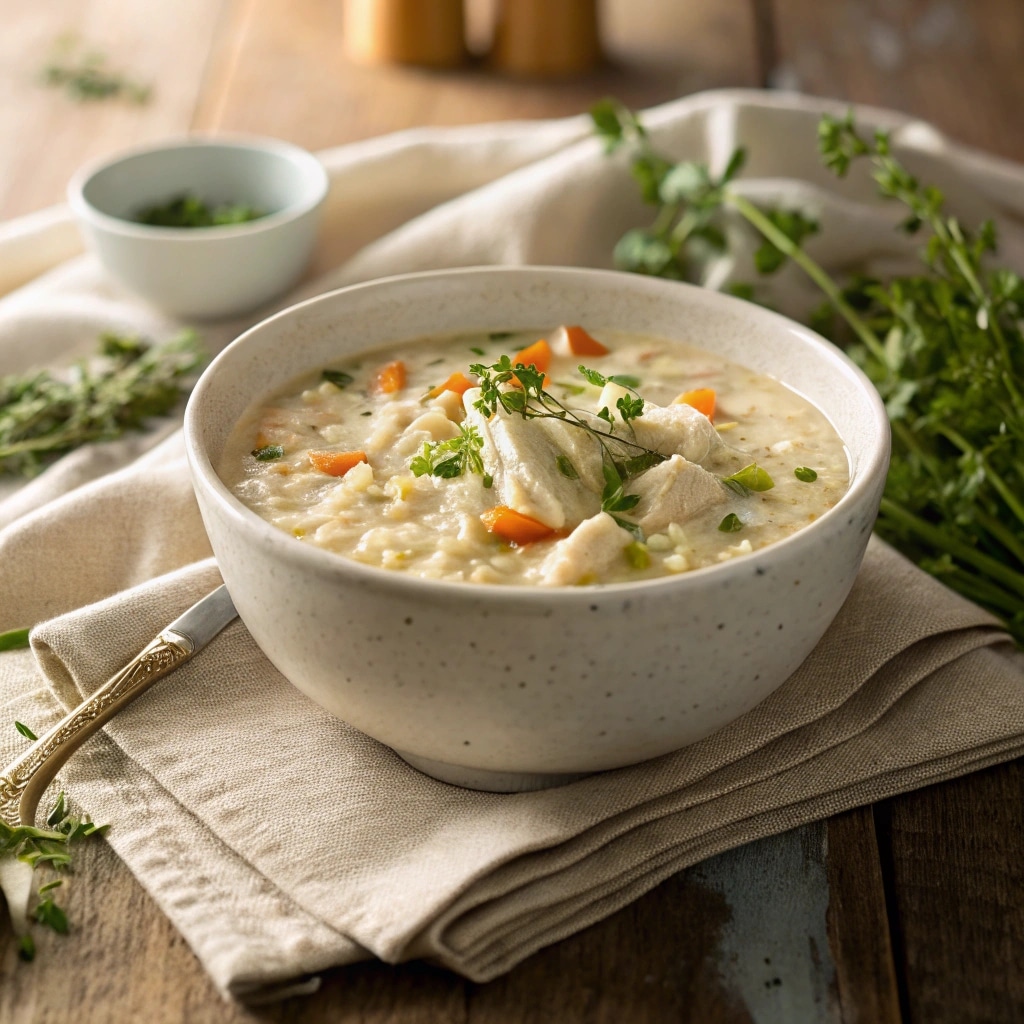
Creamy Chicken and Rice Soup: The Ultimate Comfort Bowl October 3, 2025 by Chef clara There’s nothing quite like the soothing comfort of a warm …Continue Reading
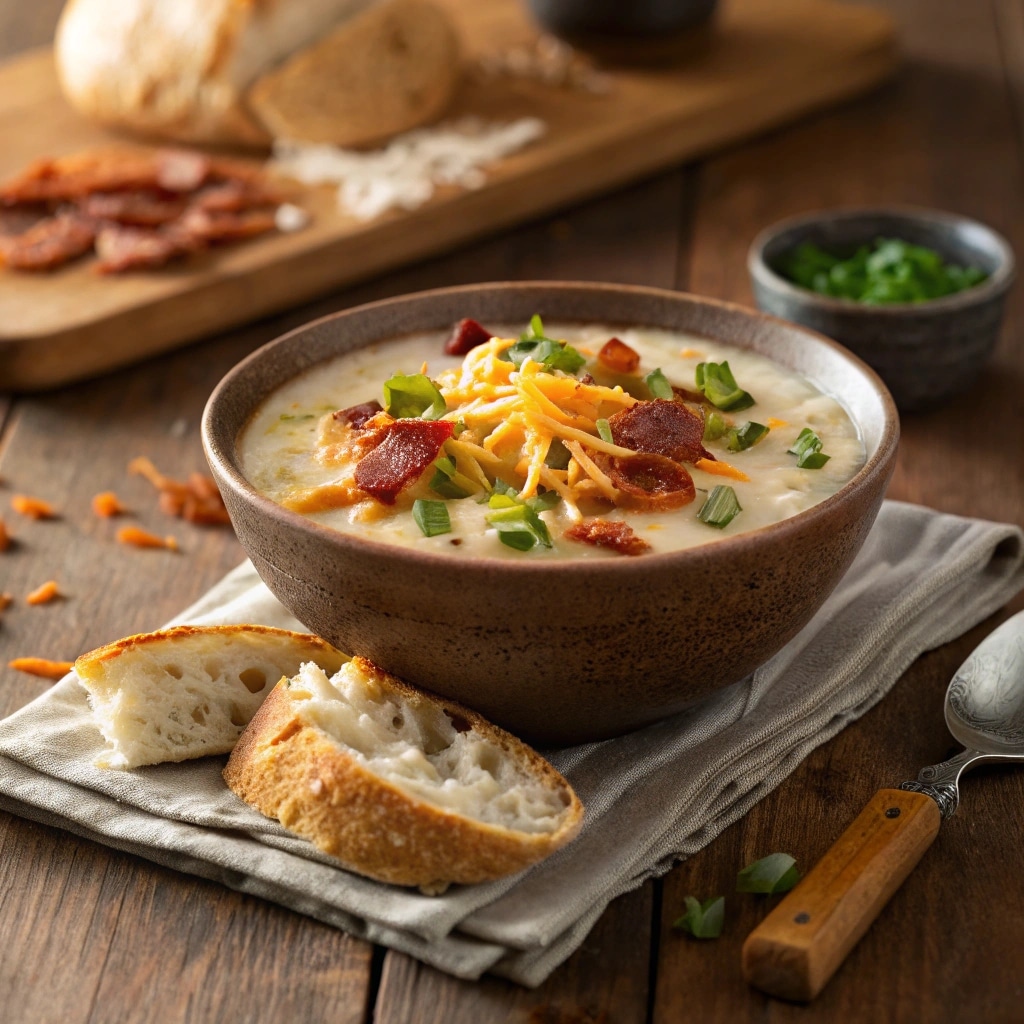
Creamy Crack Chicken Soup: Easy, Flavorful Comfort in a Bowl October 3, 2025 by Chef clara There’s nothing quite like a warm, hearty bowl of soup …Continue Reading
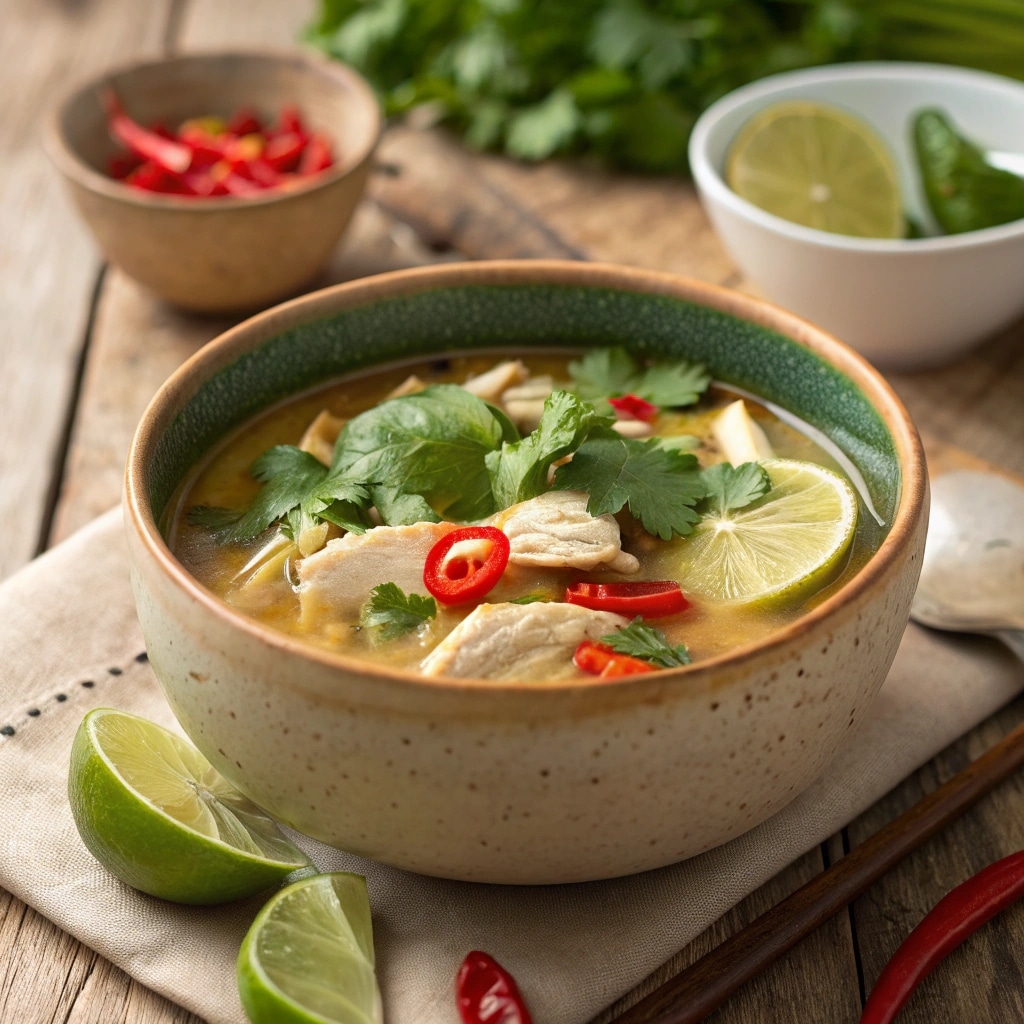
Thai Chicken Soup: A Comforting Bowl with Bold Flavors October 3, 2025 by Chef clara Thai chicken soup is one of those recipes that feels …Continue Reading
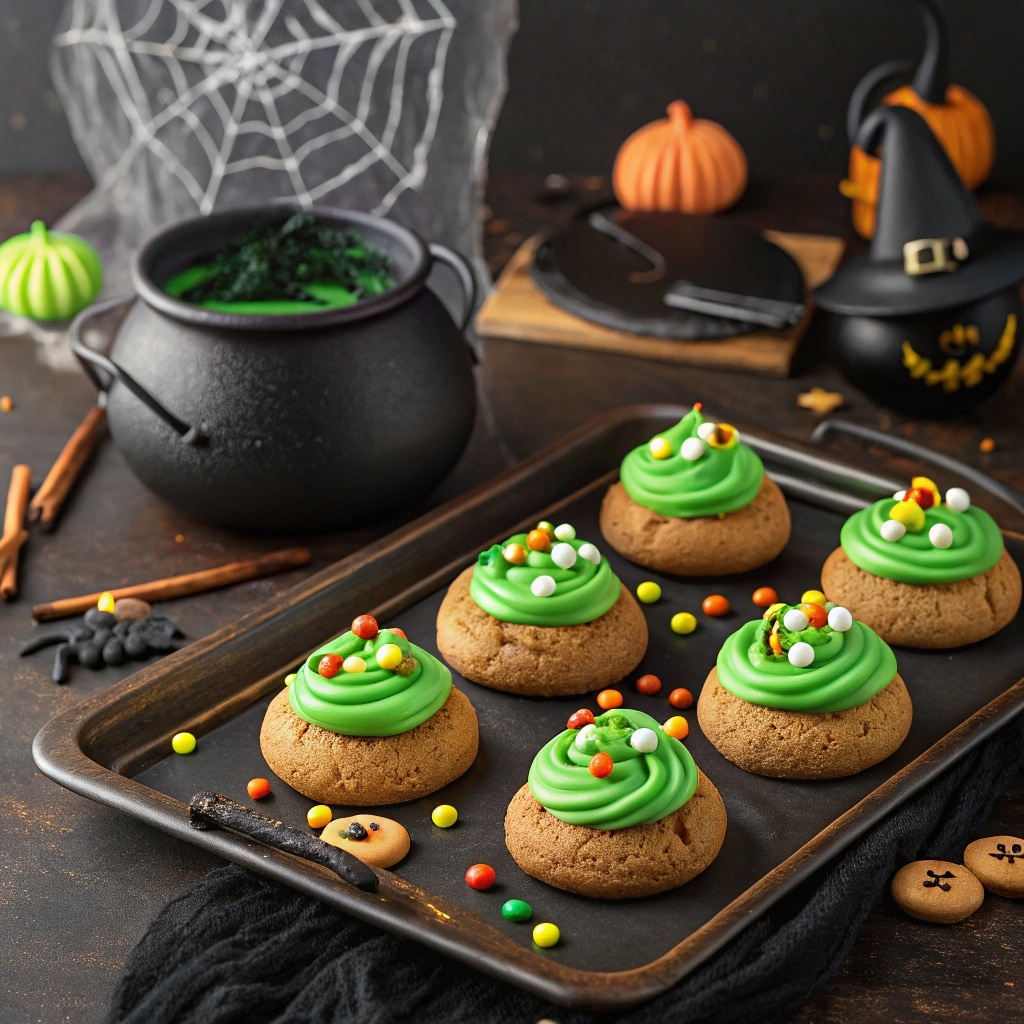
Cauldron Cookies : Fun and Spooky Halloween Treats October 2, 2025 by Chef clara Cauldron Cookies bring a touch of spooky magic to your …Continue Reading