Halloween has always been one of my favorite times in the kitchen. There’s something magical about turning ordinary ingredients into something that sparks both smiles and chills. One of the easiest ways to do this is with dirt graveyard pudding cups. They’re not just desserts they’re edible decorations that double as a sweet centerpiece at any party. Whether you’re making them for kids, friends, or a classroom event, these little cups of pudding, cookie “dirt,” and candy tombstones bring the perfect mix of fun and flavor. In this article, we’ll explore their story, variations, and simple tips to nail them every time.
Thank you for reading this post, don't forget to subscribe!Table of Contents
The Story Behind Dirt Graveyard Pudding Cups
A Childhood Memory Turned Recipe
Growing up, Halloween meant more than costumes and candy it was about creating fun, spooky experiences at home. One year, I decided to make a dessert that combined chocolate pudding with crushed cookies to mimic dirt. I topped it with gummy worms and small candy tombstones, and my kids couldn’t stop giggling. This is how the idea for Dirt Graveyard Pudding Cups was born. Over the years, I’ve perfected this recipe, layering flavors and textures to make it both visually exciting and delicious. You can even take inspiration from my Pumpkin Oreo Balls for alternative Halloween-themed treats.

Dirt Graveyard Pudding Cups: A Fun and Spooky Halloween Treat
- Total Time: 15 minutes
- Yield: 8 servings
Description
These Dirt Graveyard Pudding Cups are a spooky yet fun Halloween dessert made with layers of chocolate pudding, crushed cookies, and creepy candy decorations. Perfect for parties, kids, and festive gatherings!
Ingredients
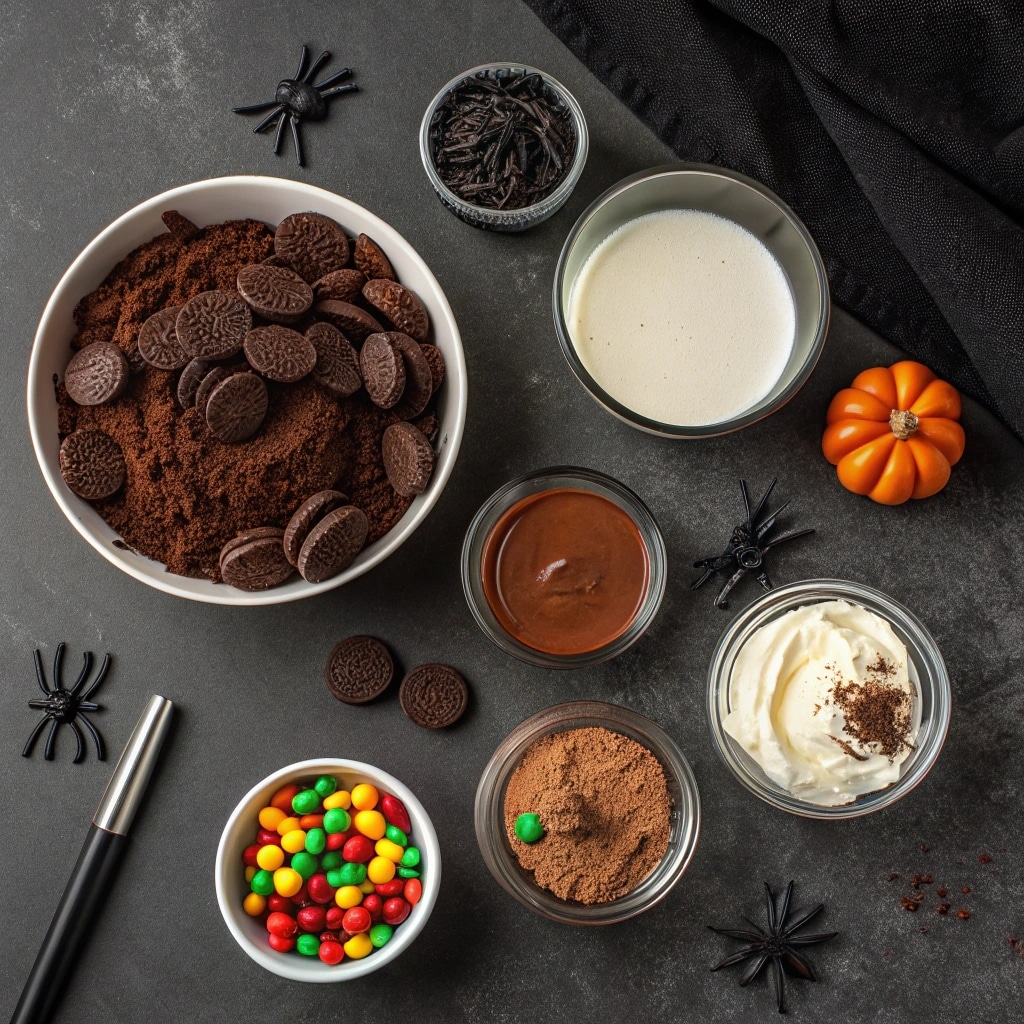
- 1 package instant chocolate pudding mix
- 2 cups cold milk
- 1 cup whipped topping
- 15–20 chocolate sandwich cookies, crushed
- Gummy worms
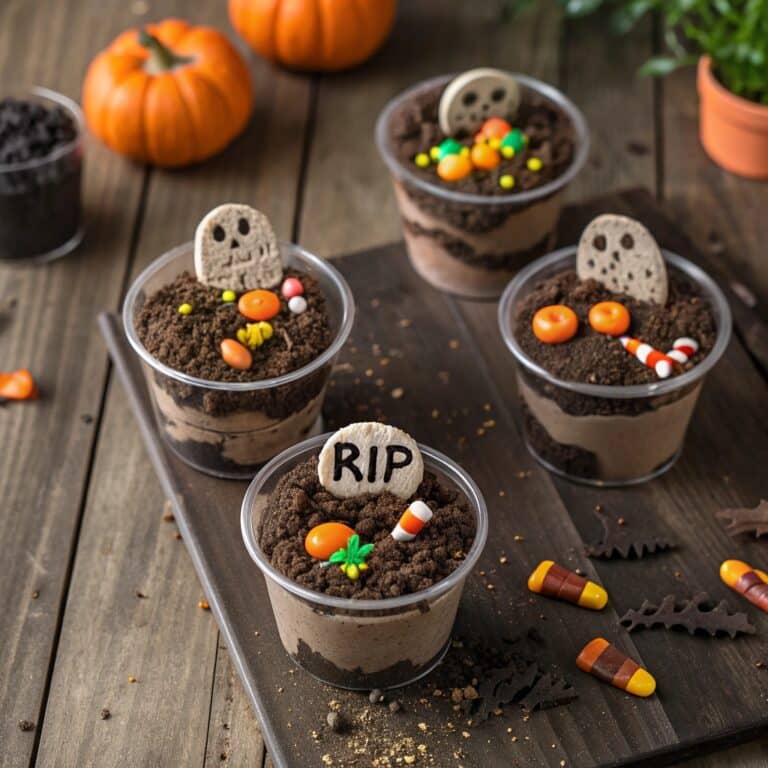
- Candy tombstones or Milano cookies
- Optional: candy pumpkins, candy corn, edible gel for writing
Instructions
- Prepare the instant chocolate pudding according to package instructions with cold milk.
- Fold in the whipped topping until smooth and creamy.
- Crush chocolate sandwich cookies to resemble dirt.
- Spoon pudding mixture into clear cups, filling about 2/3 of the way.
- Top each cup with a generous layer of crushed cookies.
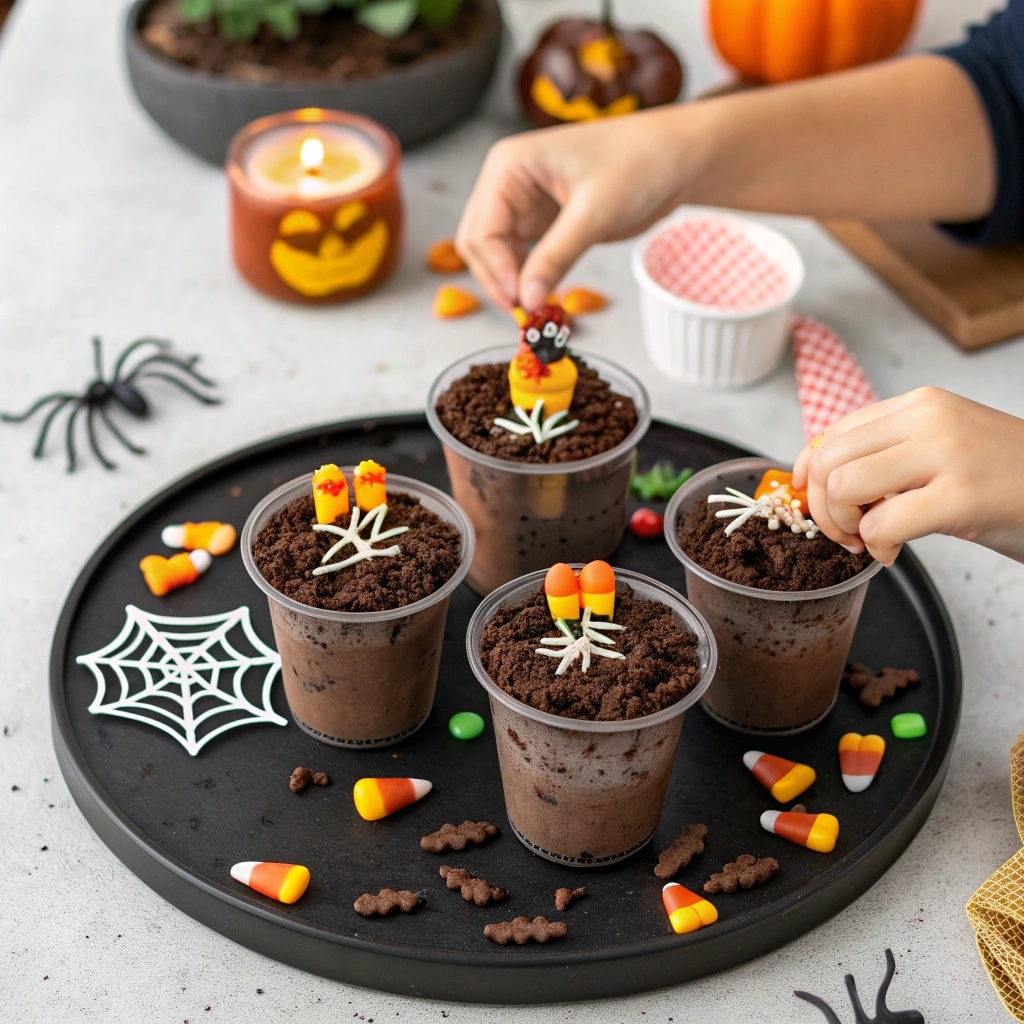
- Decorate with gummy worms, candy tombstones, and other spooky candies.
- Chill in the refrigerator until ready to serve.
Notes
For best results, assemble just before serving to keep the cookie crumbs crunchy. You can prepare the pudding and cookie crumbs ahead of time and store separately. Use dairy-free alternatives for a vegan version.
- Prep Time: 15 minutes
- Cook Time: 0 minutes
- Category: Dessert
- Method: No Bake
- Cuisine: American
Easy Ingredients, Maximum Fun
One of the reasons I love this recipe is its simplicity. All you need are chocolate pudding cups, crushed chocolate cookies, gummy worms, and candy tombstones. You can easily swap in ingredients to suit your taste think of trying Ghost Oreo Balls for a twist on the cookie layer. Preparing these cups doesn’t require baking skills, making it a great family activity. Even better, you can make them ahead of time, layer them in clear cups, and store them in the fridge until party time. The combination of creamy pudding and crunchy cookie crumbs makes each bite a delight, and decorating them is half the fun.
Fun Variations and Flavor Twists
Spooky Flavors for Every Palate
Once you’ve mastered the classic Dirt Graveyard Pudding Cups, it’s time to get creative. You can add seasonal twists like pumpkin spice pudding or even layer in flavored cream cheese for a richer taste. For a playful crunch, consider topping with candy corn, mini chocolate chips, or crushed cookies mixed with a hint of cocoa powder. Inspired by my Cheesy Halloween Breadstick Bones, you can add themed decorations to make each cup unique and fun for kids and adults alike.
Gourmet and Healthy Options
If you want a slightly more sophisticated dessert, try incorporating dark chocolate or adding a sprinkle of nuts for texture. You can even swap gummy worms with fruit snacks or fresh berries for a healthier option that still keeps the graveyard theme intact. Another idea is to create “haunted” layers using a combination of pudding flavors, such as chocolate and vanilla, to make a striped effect. My Haunted Popcorn recipe also provides inspiration for adding crunchy, themed toppings that make these pudding cups party-ready. Experimenting with different flavors and textures not only elevates the dessert but also makes it an interactive and creative kitchen project for the whole family.

Tips, Make-Ahead Ideas, and Serving Suggestions
Prep Ahead for Stress-Free Halloween Fun
One of the best things about Dirt Graveyard Pudding Cups is that they can be prepared ahead of time. Layer the pudding, cookie crumbs, and gummy worms in clear cups a day before your party and store them in the fridge. This makes Halloween entertaining much easier while keeping the dessert fresh and creamy. For added fun, you can involve kids in decorating each cup with candy tombstones or edible spiders. If you love themed desserts, check out my Spiderweb Marshmallow Treats for inspiration on spooky, kid-friendly designs.
Serving Ideas and Party Presentation
Presentation is key to making these pudding cups feel extra special. Serve them in clear plastic or glass cups so everyone can see the layers of chocolate pudding and “dirt.” Add a few gummy worms peeking out for that classic creepy-crawly effect. You can also sprinkle crushed candy corn or mini chocolate chips on top for additional texture. For a fun twist, create individual “graveyards” with multiple cups on a platter. Pair these with my Candy Corn Popcorn Balls for a themed dessert table that will impress both kids and adults. Serving your pudding cups with these small touches makes them a centerpiece dessert that’s as visually exciting as it is delicious.
FAQ About Dirt Graveyard Pudding Cups
Can I make dirt graveyard pudding cups ahead of time?
Yes! You can prep the pudding and crushed cookies a day in advance. Store the pudding in the fridge and the cookies in an airtight bag at room temperature. Assemble right before serving so the “dirt” stays crunchy and fresh.
What candy works best for decorating pudding cups?
Classic choices include gummy worms, candy pumpkins, and candy bones. You can also use Milano cookies as tombstones and write on them with edible gel. Seasonal sprinkles and chocolate rocks add extra spooky flair.
Can I make dirt pudding cups without dairy?
Absolutely. Use almond, oat, or coconut milk with instant pudding, and swap in dairy-free whipped topping. Pair with vegan sandwich cookies, and you’ll have a treat that’s just as delicious for guests avoiding dairy.
How long do dirt pudding cups last in the fridge?
Once assembled, dirt graveyard pudding cups are best eaten within 24 hours since the cookies soften quickly. If you need them to last longer, store the pudding and cookies separately and assemble right before serving.

Conclusion: A Spooky Treat Worth Digging Into
Dirt graveyard pudding cups are proof that Halloween desserts don’t need to be complicated to impress. With just a few pantry staples and some creative candy toppings, you can serve up a spooky centerpiece that doubles as a sweet snack. Whether you’re hosting a haunted party, sending treats to school, or simply making a fun family dessert night, these pudding cups deliver on both flavor and festive fun. Don’t forget to snap a pic before everyone digs in they’re almost too cute to eat!
If you’re looking for another family-friendly idea, check out my Facebook for fresh new recipes, cooking tips, and food inspiration every week!

