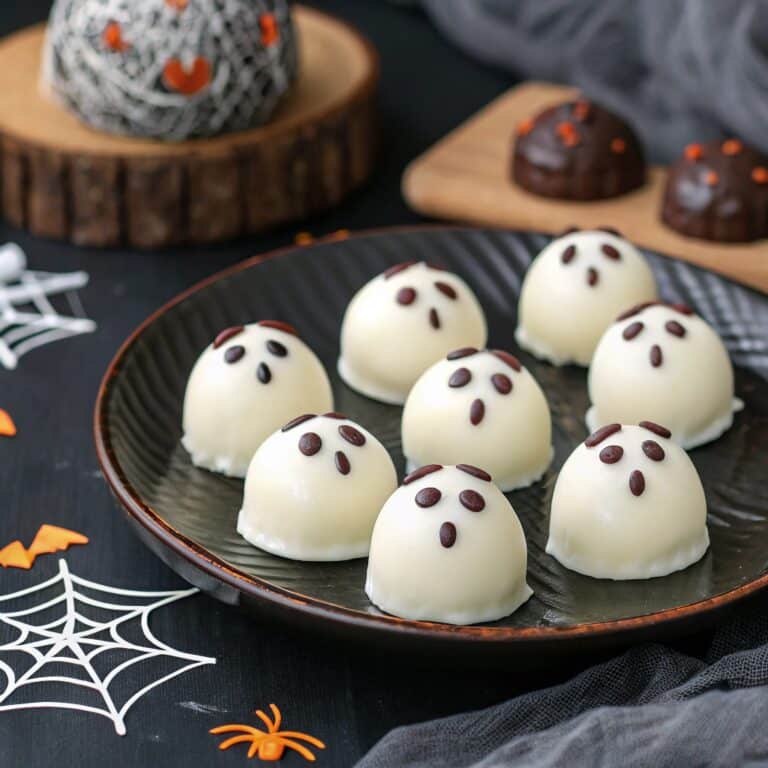
Ever since I decorated my first ghost-shaped cookie with wide eyes and a drippy white cloak, Halloween has held a special place in my kitchen memories. That’s how Ghost Oreo Balls came into my life fun, festive, and surprisingly simple. These treats combine the classic comfort of Oreo cookie crumbs and cream cheese with the playful spirit of ghost shapes. If you’re looking for a spooky dessert that doesn’t demand hours or fancy tools, you’re going to love this. In this post, I’ll walk you through why these ghostly bites are irresistible, how to make them step by step, smart swaps, and storage tricks.
Thank you for reading this post, don't forget to subscribe!Table of Contents
Why You’ll Love Ghost Oreo Balls
A spooky twist on a family favorite
I still remember the first time I invited my niece into the kitchen for a Halloween baking day. She squealed when I showed her the ghost mold and Oreo-cream cheese mixture. That moment seeing her eyes light up reminds me why I share recipes like Ghost Oreo Balls. The recipe uses familiar flavors we all love (Oreos, cream cheese) but turns them into something playful and seasonal. Using the keyword Ghost Oreo Balls early, this treat feels festive without being intimidating. Whether you’re baking with kids or preparing a party spread, these adorable ghost bites bring smiles.
These ghost balls have a creamy, slightly crunchy center and a crisp candy shell. They’re perfect for a last-minute Halloween treat or a fun baking project.
No-bake comfort meets holiday magic
One of the biggest wins with Ghost Oreo Balls is that they’re no-bake you don’t need to heat the oven. That saves time, energy, and stress. Instead, you mix crumbs and cream cheese, chill the shapes, dip in white chocolate or candy melts, and decorate. Many other Halloween treats require tricky sugar work or baking in shapes, but this recipe offers a simpler path to festive fun (similar in spirit to your Cranberry Turkey Stuffing Balls that turn everyday ingredients into something special).
I also love that this dessert gives you flexibility: you can press the mixture into a silicone ghost mold or freehand shapes with your hands. And if the shell cracks or melts, I’ll show you tricks later to fix it. Ghost Oreo Balls bring together nostalgia, creativity, and ease all in one bite.
Print
Ghost Oreo Balls
- Total Time: 50 minutes (includes chilling)
- Yield: 24 ghost balls
- Diet: Vegetarian
Description
Fun, festive, and spooky Halloween treats made with Oreos, cream cheese, and white chocolate, shaped into adorable little ghosts.
Ingredients
- 36 Oreos (classic chocolate recommended)
- 8 oz cream cheese, softened
- 16 oz white chocolate or candy melts
- Mini chocolate chips or black icing (for ghost eyes)
Instructions
- Crush Oreos into fine crumbs using a food processor or by placing them in a bag and rolling with a pin.
- Mix crumbs with softened cream cheese until a dough-like filling forms.
- Shape mixture into balls or press into a silicone ghost mold.
- Place shaped balls on a parchment-lined tray and chill for at least 30 minutes.
- Melt white chocolate or candy melts in short microwave bursts, stirring until smooth.
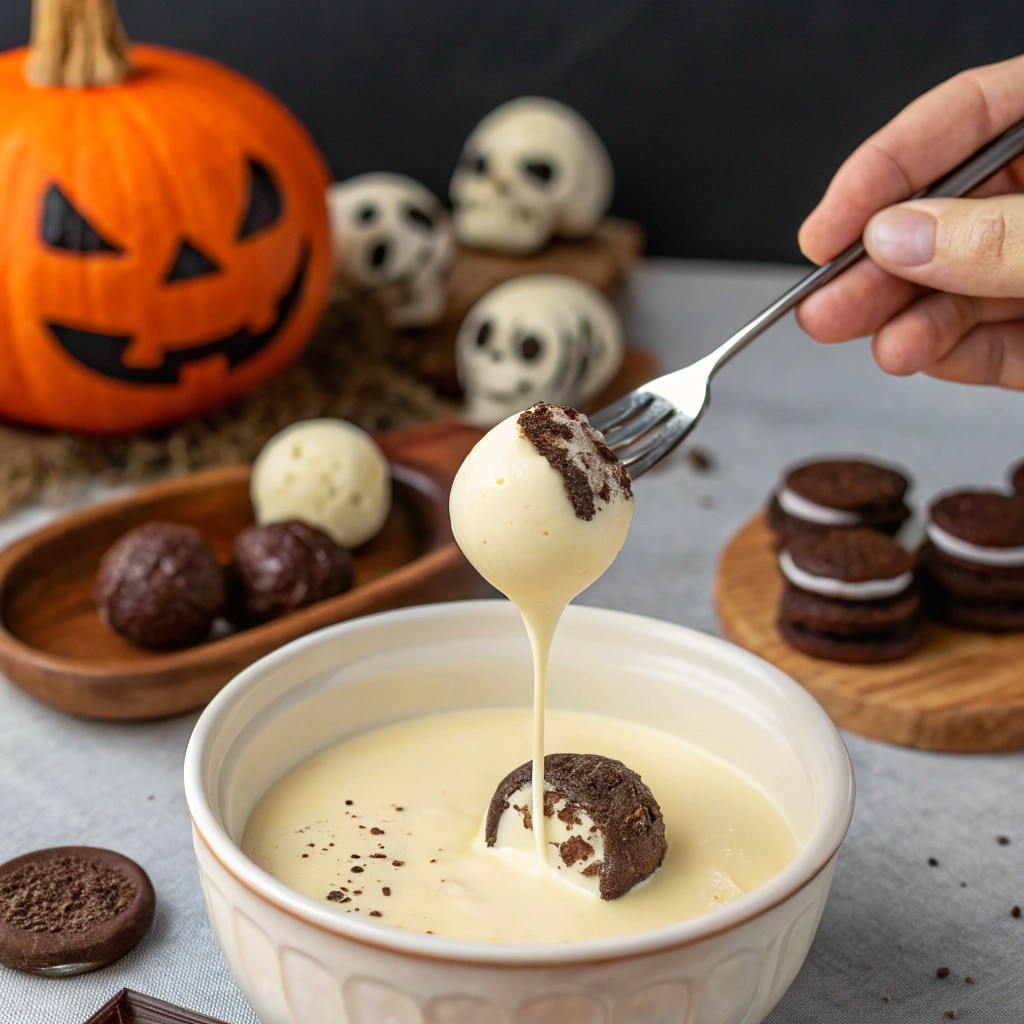
- Dip each chilled Oreo ball into the coating, tapping off excess.
- Before coating hardens, add mini chocolate chips or icing to create ghost eyes and mouths.
- Let coating set completely in the refrigerator before serving.
Notes
For gluten-free, use gluten-free sandwich cookies. For dairy-free, use plant-based cream cheese and vegan white chocolate.
- Prep Time: 20 minutes
- Cook Time: 0 minutes
- Category: Dessert
- Method: No-Bake
- Cuisine: American
Ingredients & Substitutions
Core ingredients you need
When it comes to Ghost Oreo Balls, the ingredient list is short, which makes this recipe even more appealing. All you really need are Oreos, cream cheese, white chocolate (or candy melts), and a few extras for decorating the ghost faces. That’s it. The magic lies in transforming these pantry staples into something fun and memorable.
Here’s a quick overview of the essentials:
| Ingredient | Purpose in Recipe | Notes |
|---|---|---|
| Oreos | Base flavor + texture | Any flavor works, but classic chocolate Oreos are best |
| Cream cheese | Binds + creamy filling | Softened for easy mixing |
| White chocolate/candy melts | Creates ghost coating | Candy melts are easier to work with |
| Mini chocolate chips or black icing | Ghost eyes | Adds spooky character |
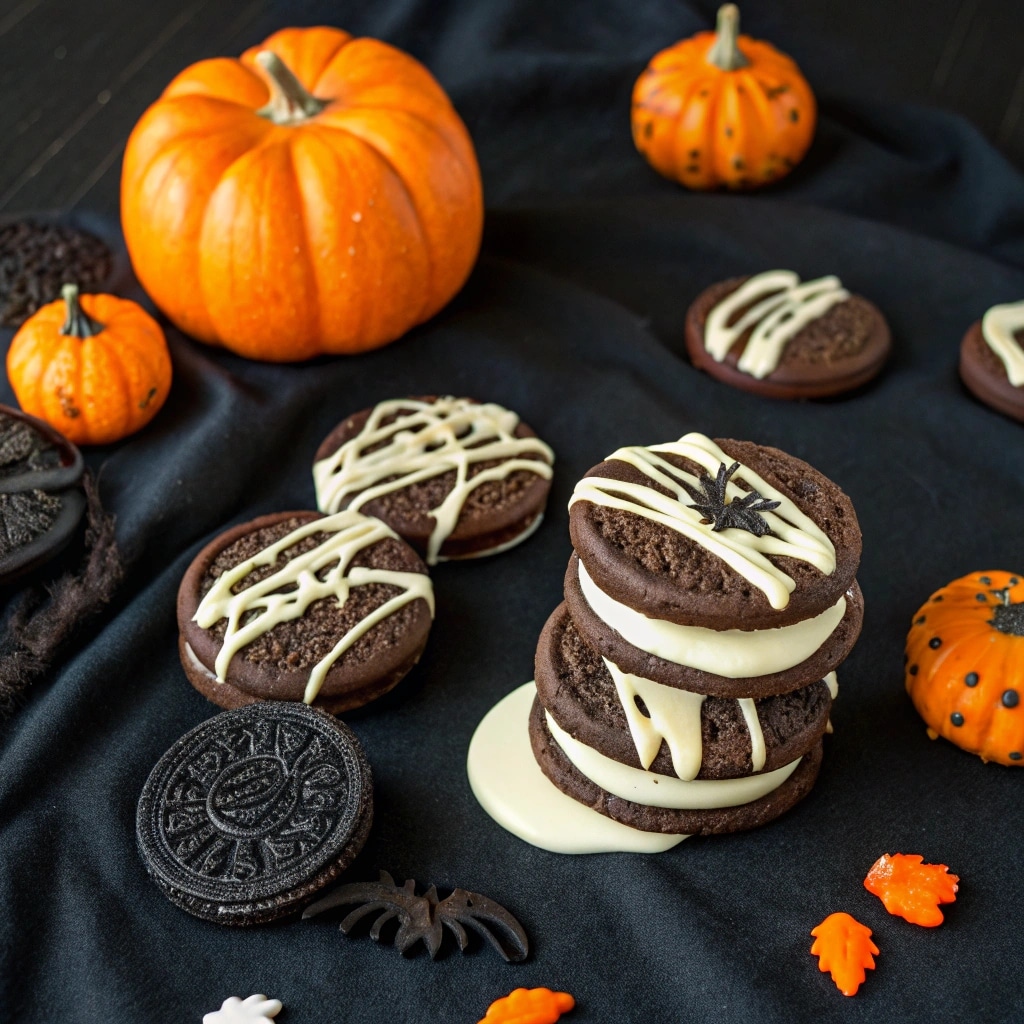
Just like with your Banana Bread Cookies, you don’t need a long shopping list to get started. The balance of sweet chocolate, smooth cream cheese, and a crisp shell does all the heavy lifting.
Smart swaps and allergy-friendly options
Of course, every kitchen is different, and sometimes substitutions are necessary. If you’re gluten-sensitive, you can opt for gluten-free sandwich cookies. For a dairy-free version, swap cream cheese with a plant-based alternative and use vegan white chocolate chips. Kids with nut allergies can still enjoy Ghost Oreo Balls, since the recipe doesn’t require nut-based ingredients.
For decorating, get creative try black gel icing, melted dark chocolate, or even edible googly eyes for extra fun. If you want to add flavor twists, use golden Oreos for a vanilla ghost or pumpkin-spice Oreos for a seasonal flair. Just like your Cheesy Halloween Breadstick Bones, this recipe is designed for flexibility. That way, no matter the dietary needs or taste preferences, everyone gets to enjoy these spooky treats.
Step-by-Step Instructions
Forming the ghost shapes and chilling
Making Ghost Oreo Balls is simple, but following a clear order keeps the process smooth. First, crush your Oreos into fine crumbs either in a food processor or by sealing them in a bag and rolling with a pin. Mix the crumbs with softened cream cheese until you have a thick dough-like filling. Roll the mixture into small balls or press portions into a silicone ghost mold for more defined shapes. Place the shaped balls onto a parchment-lined tray and chill in the refrigerator for at least 30 minutes. This step is crucial because it firms up the filling, making it easier to dip later.
If you’ve tried recipes like Haunted Popcorn, you know how important it is to let the base set before moving on. The same applies here skip chilling, and the filling will fall apart in the coating.
Dipping, decorating, and finishing touches
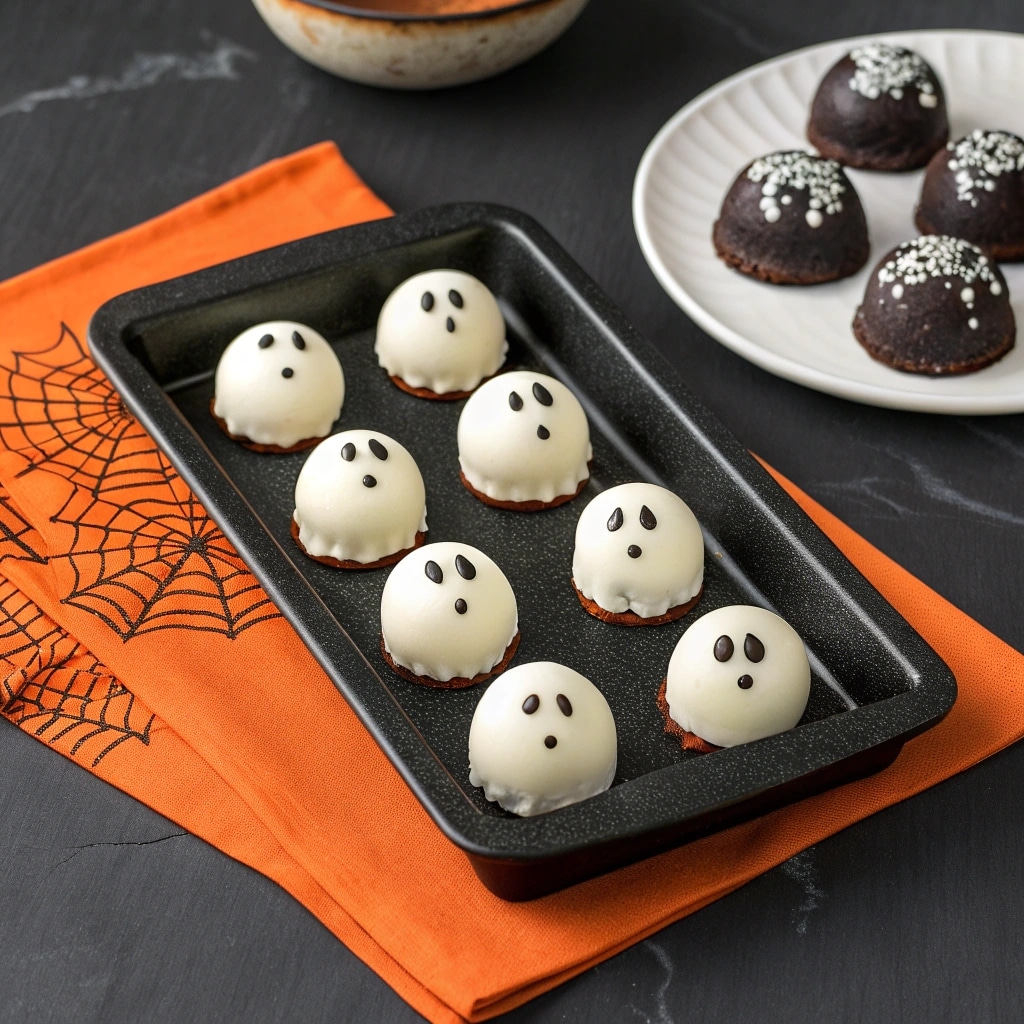
Once chilled, melt your white chocolate or candy melts in short bursts in the microwave, stirring until smooth. Using a fork, dip each chilled Oreo ball into the melted coating, tapping gently to remove excess. Place back on the tray to set. Before the coating hardens, add mini chocolate chips or black icing for ghost eyes and mouths. For a dripping “sheet” effect, let some of the coating fall unevenly along the edges it gives your Ghost Oreo Balls their spooky character.
If you want a Halloween spread that looks cohesive, pair these treats with other themed recipes like Dark Chocolate Halloween Cookies. Together, they create a dessert table that feels festive without requiring hours of work. Once decorated, chill the tray again until firm, and your ghostly delights are ready to serve.
Storage, Serving & Troubleshooting
Storing and freezing for later
Ghost Oreo Balls keep well if you store them correctly. Place them in an airtight container lined with parchment paper, separating layers to prevent sticking. In the refrigerator, they’ll stay fresh for up to a week, while the freezer extends their life to around two months. When freezing, wrap each ball individually in plastic before placing them in a container. This keeps the coating smooth and prevents freezer burn. If you’ve tried freezer-friendly recipes like Autumn Wild Rice Soup, you’ll know how planning ahead can make holidays easier and less stressful.
To thaw, simply transfer the frozen balls to the fridge for a few hours. Avoid leaving them at room temperature for long, as condensation may affect the candy coating.
Serving ideas and fixing common mistakes
Serving these ghostly treats is as fun as making them. Arrange them on a black tray for a spooky effect, or place each on mini cupcake liners for a neat presentation. They make an excellent party favor, especially when paired with festive bakes like Shrunken Potato Heads.
Common mistakes include chocolate that seizes (overheating it) or fillings that crumble (not chilling long enough). If your coating cracks, just re-dip the ball for a thicker “sheet” look it often makes the ghost more realistic. Don’t be afraid of imperfections; they add personality to your Halloween table.
FAQs
How long do Ghost Oreo Balls last?
They last up to 1 week in the refrigerator or 2 months in the freezer when stored properly in an airtight container.
Can I make Ghost Oreo Balls without a food processor?
Yes. Place Oreos in a sealed bag and crush them with a rolling pin until fine crumbs form.
What can I use if I don’t have candy melts?
White chocolate chips work well as a coating. Add 1 teaspoon of coconut oil or shortening to make melting smoother.
Can Ghost Oreo Balls be made ahead of time?
Absolutely. Make them a day or two in advance, store in the fridge, and decorate on the day of serving.
Conclusion
Ghost Oreo Balls bring together fun, flavor, and festive Halloween spirit. With just a few simple ingredients, you can transform Oreos into spooky little ghosts that both kids and adults adore. From shaping to decorating, every step is easy to follow, making this recipe approachable for beginners and rewarding for seasoned bakers. Pair them with other Halloween favorites from Recipe by Clara to create a spread that’s both creative and comforting. Whether you’re hosting a party or making treats with the family, these ghostly delights will surely become a seasonal tradition.
If you’re looking for another family-friendly idea, check out my Facebook for fresh new recipes, cooking tips, and food inspiration every week!

