Poison Candy Apples bring a wicked twist to classic autumn treats, turning ordinary apples into sinfully striking Halloween delights. I still remember helping my mom pull out her thick candy thermometer as a kid, watching sugar bubble and steam, the kitchen smelling of caramel and burnt sugar. When I first tried making Poison Candy Apples, I wanted that glossy, jet-black finish like something straight from a fairy tale villain’s cauldron. In this article you’ll discover exactly how to make poison candy apples from scratch, the tools and ingredients you need, how to prevent common mishaps, clever variations, and how to store them so they stay perfect.
Thank you for reading this post, don't forget to subscribe!Table of Contents

Poison Candy Apples with a Wicked Shine
- Total Time: 35 minutes
- Yield: 6 candy apples
Description
Poison Candy Apples bring a wicked twist to classic autumn treats, turning ordinary apples into glossy, jet-black Halloween delights.
Ingredients
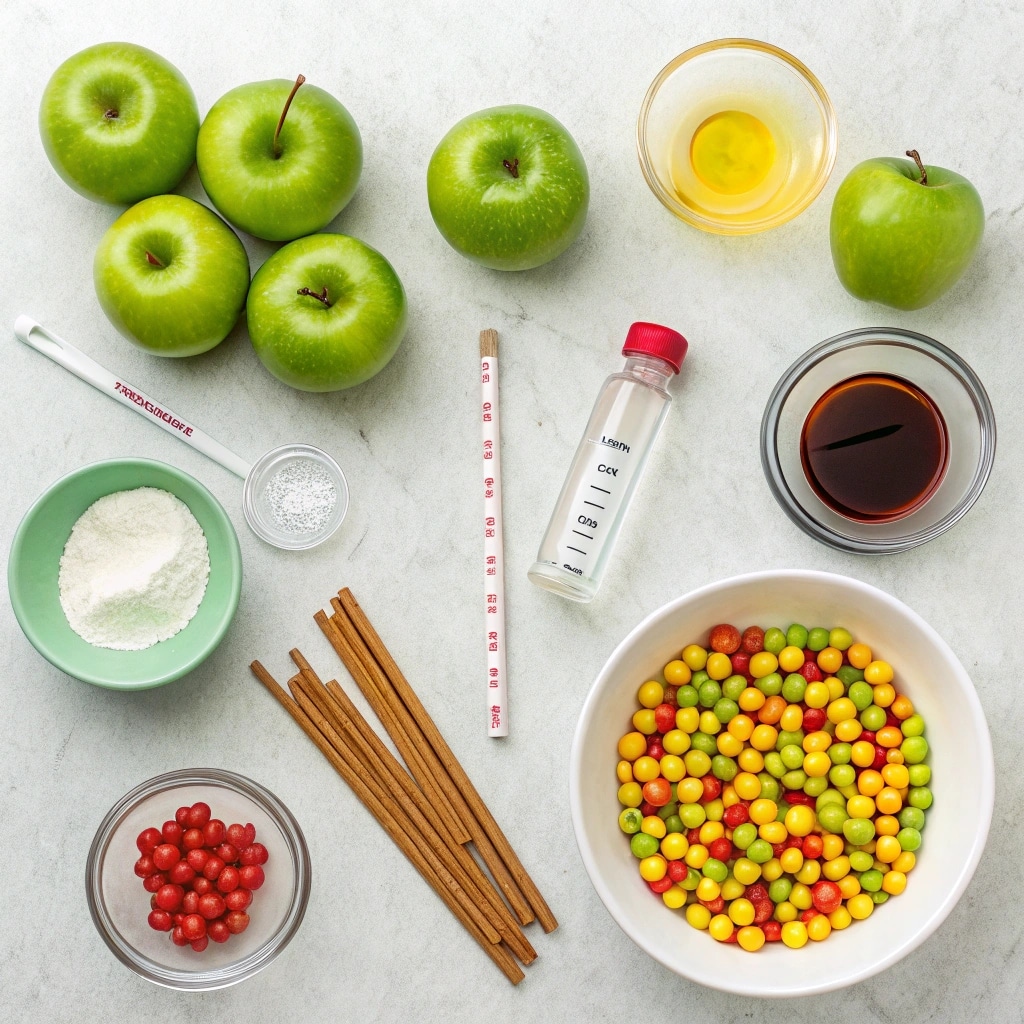
- 6 Granny Smith apples (or Honeycrisp/Jazz)
- 2 cups granulated sugar
- 1 cup light corn syrup (or liquid glucose)
- 1/2 cup water
- 1/4 teaspoon cream of tartar (optional)
- Black or red gel food coloring (or activated charcoal)
- Wooden sticks or skewers
- Parchment or wax paper
- Cooking spray (optional)
Instructions
- Wash apples in hot water to remove wax, then dry thoroughly.
- Insert wooden sticks or skewers securely into the cores of each apple.
- Line a baking sheet with parchment or a silicone mat and lightly grease if desired.
- In a heavy-bottomed saucepan, combine sugar, corn syrup, and water.
- Heat over medium-high, stirring gently until sugar dissolves, then attach candy thermometer.
- Cook mixture without stirring until it reaches hard crack stage (300–310°F).
- Remove from heat and carefully stir in gel food coloring or activated charcoal.
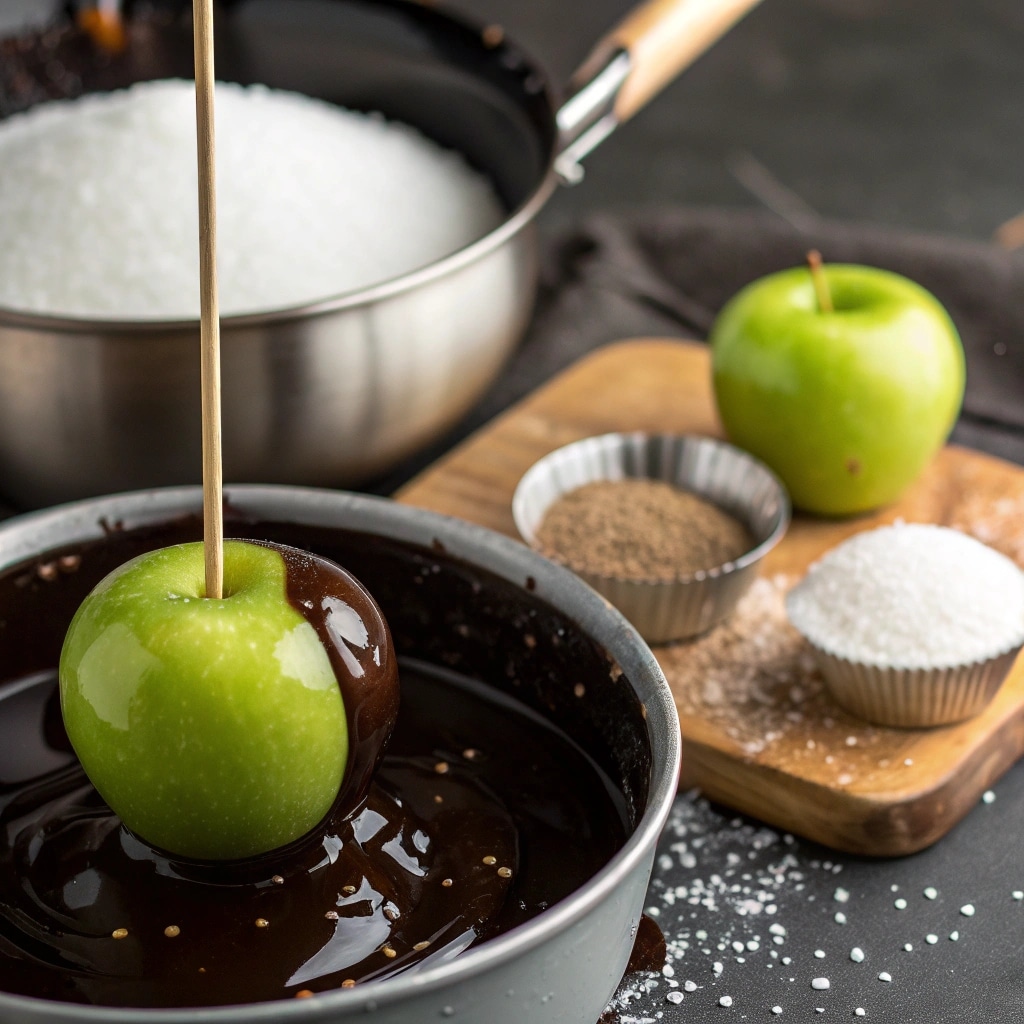
- Dip apples one at a time, swirling to coat evenly, then let excess drip off.
- Place dipped apples on prepared tray to harden.
- If mixture thickens, reheat gently over low heat to keep fluid.
Notes
Use tart Granny Smith apples for best contrast. Make sure apples are bone dry before dipping or the candy coating will slide off. Handle hot sugar with extreme care to avoid burns.
- Prep Time: 20 minutes
- Cook Time: 15 minutes
- Category: Dessert
- Method: Stovetop
- Cuisine: American
What Makes Perfect Poison Candy Apples
Choosing the Best Apples & Colour for Poison Candy Apples
For poison candy apples that look gorgeous and taste amazing, apple choice matters. Granny Smith apples shine for this recipe firm, crisp, tart and their green hue contrasts beautifully with deep black candy coating. Just like with my Pumpkin Soup recipe, starting with fresh produce makes all the difference in flavor and presentation.
Other options like Honeycrisp or Jazz offer sweetness, but may not give the dramatic contrast you get with tart apples. Also, removing any wax coating, washing with warm water (or a vinegar rinse), and drying completely ensure the candy sticks well.
Color-wise, the “poison” effect comes from using gel food coloring or activated charcoal. Gel pastes give strong pigment without watering down the candy. If you want red-poison apples or black ones, start with small amounts of gel coloring, then deepen as needed. Activated charcoal offers a natural black shade, though it needs stronger pigment, and assume it’s purely for decorative effect (so check with dietary restrictions if serving kids).

The Hard Candy Coating Sugar, Temperature, and Tools
The candy shell defines poison candy apples. You’ll need granulated sugar, light corn syrup (or liquid glucose), a bit of water, and optionally cream of tartar to keep sugar stable. Use a heavy-bottomed saucepan to help prevent burning and crystallization. A candy thermometer is essential: cook the mixture to the “hard crack stage,” around 300-310°F (149-155°C). Avoid stirring once sugar starts boiling; instead use a wet pastry brush to wash down sugar crystals on the sides. For tools, you also need sturdy sticks (wooden skewers or candy apple sticks), parchment or wax paper, and trays ready before you begin. The process is similar to creating the glossy top of my Pumpkin Bars temperature control is everything.
Step-by-Step Recipe: How to Make Poison Candy Apples
Prep Work Apples, Sticks, and Workspace
Before you start melting sugar, it’s important to prepare your apples properly. Wash them in hot water to remove the natural waxy coating, then dry them thoroughly. If you skip this step, the candy won’t cling as it should. Once they’re clean, push a wooden stick or sturdy skewer into the core of each apple, making sure it’s secure but not poking through the bottom. Some people like using natural branches or decorative sticks for a spooky Halloween vibe, but standard candy apple sticks work perfectly. Lining trays with parchment reminds me of setting up for Witch Finger Cookies, where quick shaping matters.
Line a large baking sheet with parchment paper or a silicone mat. Lightly grease it with cooking spray if you want extra assurance against sticking. Have everything arranged and within arm’s reach because once the sugar mixture reaches temperature, you’ll need to work quickly. Set up your saucepan, candy thermometer, a heat-resistant spatula, and bowls of gel food coloring nearby. This way, you can move smoothly from cooking to dipping without losing that ideal candy texture.
Making & Applying the Candy Coating
In a heavy-bottomed saucepan, combine two cups of sugar, one cup of light corn syrup, and half a cup of water. Stir gently at the start to dissolve the sugar, then clip on your candy thermometer. Heat over medium-high until the mixture reaches the hard crack stage (about 300–310°F). Resist the urge to stir once it boils stirring can cause crystallization, leading to a gritty finish instead of a glassy shine. Instead, use a wet pastry brush to sweep down any sugar crystals forming along the pan’s edge.
Once it hits temperature, remove the saucepan from the heat and carefully stir in gel food coloring until you get the sinister shade you want. Holding each apple by the stick, dip and swirl it into the hot candy, letting excess drip off before placing it on the parchment. Work quickly because the candy hardens fast, but take care it’s molten sugar, and burns can be severe. If the mixture starts to thicken before you’ve dipped all your apples, you can gently reheat it over low heat until fluid again.

Tips & Variations for Stunning & Unique Poison Candy Apples
Colour & Decoration Variations
One of the most exciting parts of making poison candy apples is experimenting with their eerie look. Black is the most iconic shade it channels that sinister fairy-tale feel but you don’t have to stop there. A deep crimson candy coating can mimic dripping blood, while swirling black and purple together creates a haunting galaxy effect. Gel food coloring is the easiest way to achieve these tones since it delivers strong pigments without thinning out the syrup. For those who want a more natural option, activated charcoal brings a dramatic black finish, though it requires a little extra powder for intensity.
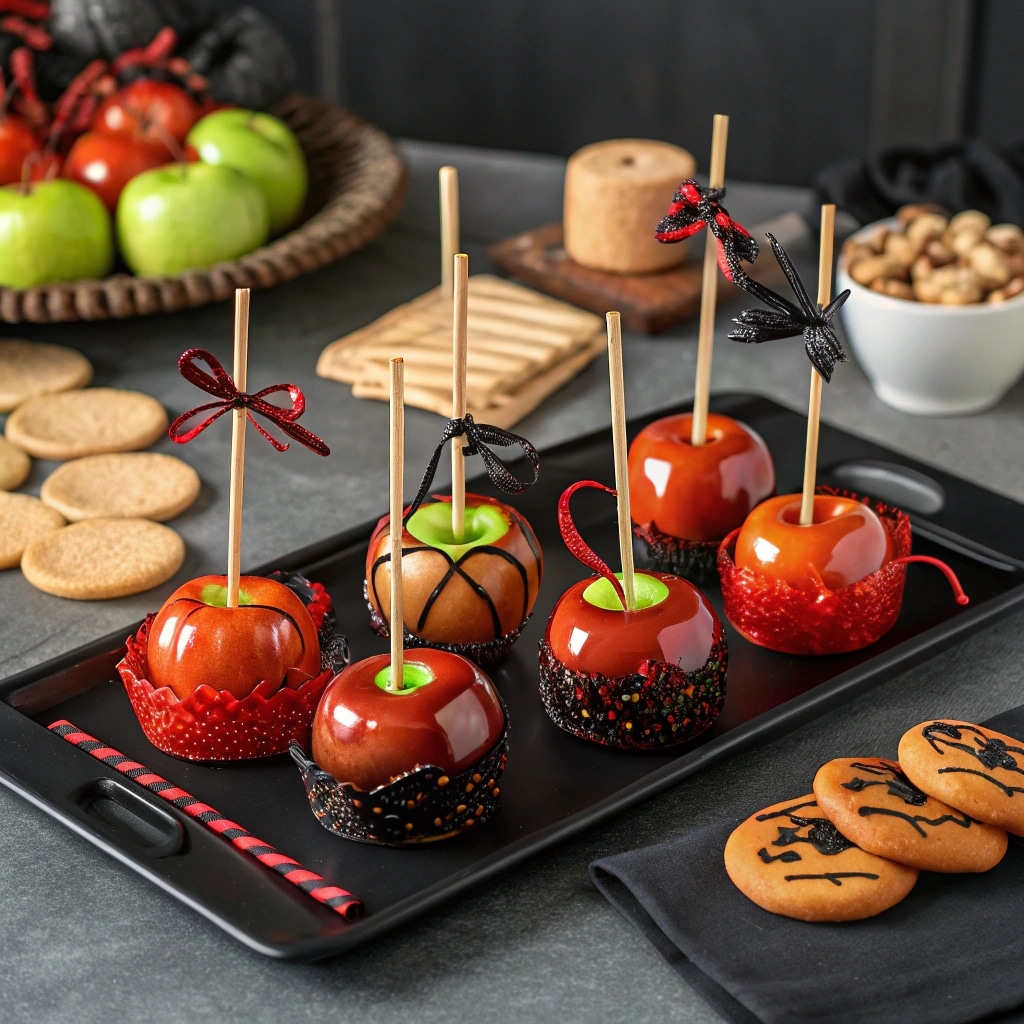
To step up the presentation, try adding edible glitter or metallic shimmer dust while the coating is still tacky. This makes each apple sparkle under dim lighting, perfect for a Halloween spread. Even the sticks can add to the theme swap plain skewers for twigs or black-and-white striped straws for instant drama. A drizzle of contrasting candy or melted chocolate can also highlight the glossy shell and make the apples look even more spellbinding. For those who enjoy seasonal creativity, you might also love experimenting with flavors in my Pumpkin Dip recipe.
Common Issues & How to Fix Them
Even seasoned bakers run into trouble with poison candy apples, but knowing how to troubleshoot saves your batch. If the coating turns sticky or soft, it usually means the sugar didn’t reach the hard crack stage. Reheat the syrup carefully until it hits the right temperature, then continue dipping. When the candy cracks, it’s often from overheating beyond 310°F. If this happens, lower the heat and watch your thermometer closely.
Sometimes the coating slides right off the apple. That’s almost always because of moisture or leftover wax. Double-check that the apples are bone dry before dipping, and always wash off the wax first. Air bubbles in the coating? Slowly dip and rotate the apple to minimize them, or let the syrup sit for 30 seconds after adding food coloring before dipping. With these adjustments, your poison candy apples will come out flawless every time.

Storage, Safety, & Serving Poison Candy Apples
How to Store Them Properly
Once your poison candy apples are coated and cooled, storage becomes the key to keeping them glossy and crisp. The best option is to let them sit at room temperature on parchment paper until the coating is fully set. After that, wrap each apple individually in clear cellophane or wax paper, twisting the ends to seal. This keeps moisture out and prevents the apples from sticking together. Avoid refrigerating unless absolutely necessary, since cold temperatures introduce condensation that softens the hard shell and makes it tacky.
If you’re making these in advance for a party, poison candy apples generally last up to three days when stored properly. Keep them in a cool, dry place away from humidity. To maintain their shine, don’t stack or layer them in containers, as the candy coating can chip or stick when pressed against other surfaces. If you do need to transport them, stand them upright in a box with dividers, or cushion them with parchment paper so they don’t bump into each other.
I wrap these apples much like I prepare Pumpkin Mac and Cheese ahead of time planning ensures stress-free serving.
Serving and Display Ideas
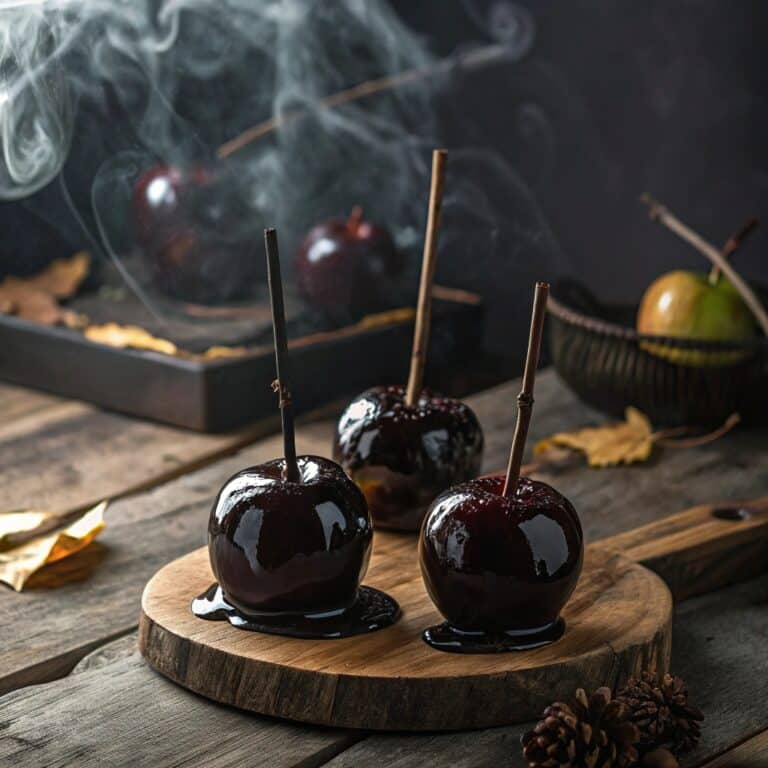
Poison candy apples don’t just taste good they’re made to impress. For a spooky centerpiece, arrange them on a dark tray with dry ice fog rolling underneath, or set them in a rustic basket lined with black cloth for a witch’s-market vibe. Pair them with other Halloween treats like witch finger cookies or ghost brownies for a themed dessert table that pops with creativity.
When it’s time to serve, remind guests to be careful the candy shell is rock-hard. For kids, consider cutting the apples into wedges with a sharp knife before serving. This way, everyone gets a manageable piece without risking a tooth on the hardened sugar. Wrapped apples also make perfect party favors: just tie the tops with orange or black ribbon, and you’ve got a festive, edible gift. With a little creativity, these poison candy apples transform from a simple treat into a show-stopping Halloween highlight.
When styled with other treats like Pumpkin Cake, these poison candy apples create a magical Halloween spread.
FAQs
How do you make poison candy apples look realistic?
To create a realistic “poison” look, use gel food coloring in deep black or crimson shades. Dipping apples slowly ensures even coverage, while adding edible shimmer dust or letting the candy drip unevenly gives them that eerie, storybook finish.
What food coloring works best for poison candy apples?
Gel food coloring is best because it delivers vibrant color without thinning the syrup. Liquid food coloring can weaken the mixture, while natural options like activated charcoal give a dramatic black but may require more powder for intensity.
Can I make poison candy apples ahead of time?
Yes, you can! Poison candy apples can be made up to three days in advance if stored properly. Wrap each apple in clear cellophane or wax paper and keep them in a cool, dry place. Avoid refrigeration to prevent sticky surfaces.
How do you store poison candy apples without them sticking?
Wrap each apple individually in parchment or cellophane once cooled. Store them upright at room temperature in a dry, cool spot. Never stack them in layers, since pressure can chip the candy or cause the apples to stick together.
Conclusion
Poison candy apples are more than just a Halloween snack they’re a wickedly fun way to turn simple fruit into a show-stopping centerpiece. From choosing the right apples and nailing the candy coating to experimenting with spooky colors and creative decorations, every step gives you room to add your own twist. With the right techniques, you’ll avoid common mistakes and end up with glossy, haunting apples that last through the party. Whether served on a platter, wrapped as party favors, or displayed as edible décor, these poison candy apples guarantee to enchant and thrill. Try them this Halloween and bring a little fairy-tale mischief to your kitchen.
If you’re looking for another family-friendly idea, check out my Facebook for fresh new recipes, cooking tips, and food inspiration every week!

