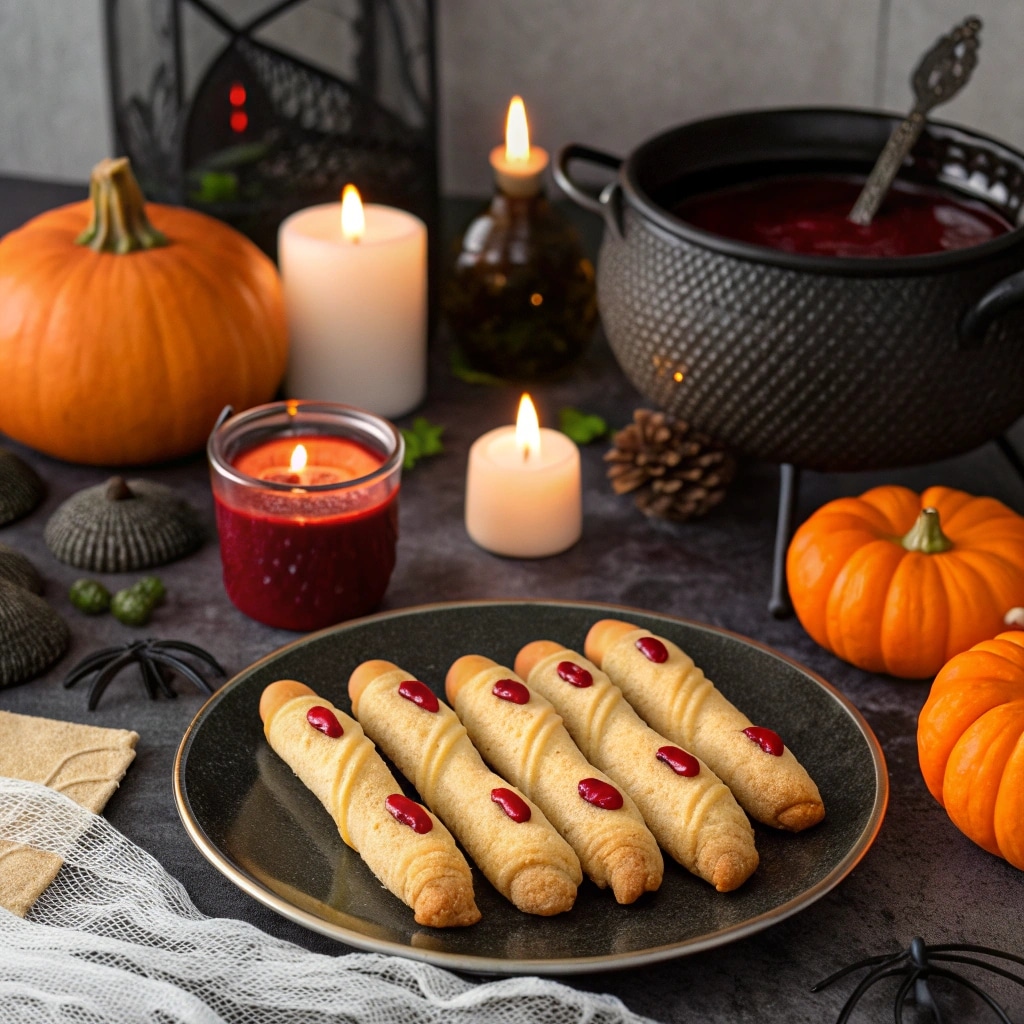
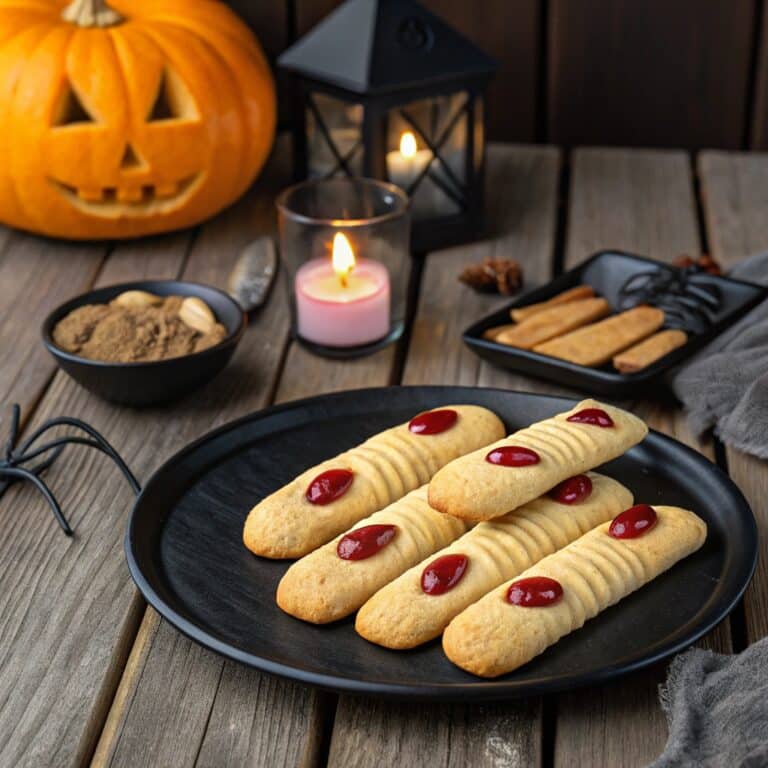
Witch Finger Cookies let you bring playful spookiness right into your kitchen. Whether you’re baking for Halloween, a themed party, or just craving something fun, this recipe combines buttery shortbread, creepy details, and a “bloody” touch for maximum effect. In this article, I’ll share what makes the perfect witch finger cookie: tips for dough texture, how to shape fingers so they look realistic, decorating tricks, and storage advice. By the end, you’ll feel confident baking a batch that looks eerie, tastes delicious, and delights both kids and guests. Let’s dive into the magic of Witch Finger Cookies.
Thank you for reading this post, don't forget to subscribe!Table of Contents
The Story & Intro
I still remember the first time I bit into a Witch Finger Cookie. It was Halloween night, and my friend had brought over a plate of them, dripping with red jam, almond nails glinting under the porch light. The cookie cracked just right, the butter-shortbread melted in my mouth, and despite its creepy looks, I couldn’t resist a second. From that moment, I knew I wanted to recreate that mix of horror and delight in my own kitchen.
Baking Witch Finger Cookies has become one of my favorite autumn traditions. Every year I pull out my trusty mixing bowl and think back to that first batch. Over time, I’ve tweaked the recipe: more almond extract here, a shade of green there, sharper knuckle lines, more realistic “blood” drips. I want you to enjoy that same thrill the look on someone’s face when you present a tray, and the warm comfort when you bite into soft, slightly crisp shortbread.
Print
Witch Finger Cookies Recipe
- Total Time: 55 minutes
- Yield: 30 cookies
- Diet: Vegetarian
Description
Creepy and delicious buttery shortbread cookies shaped like witch fingers, complete with almond nails and bloody jam for the ultimate Halloween treat.
Ingredients
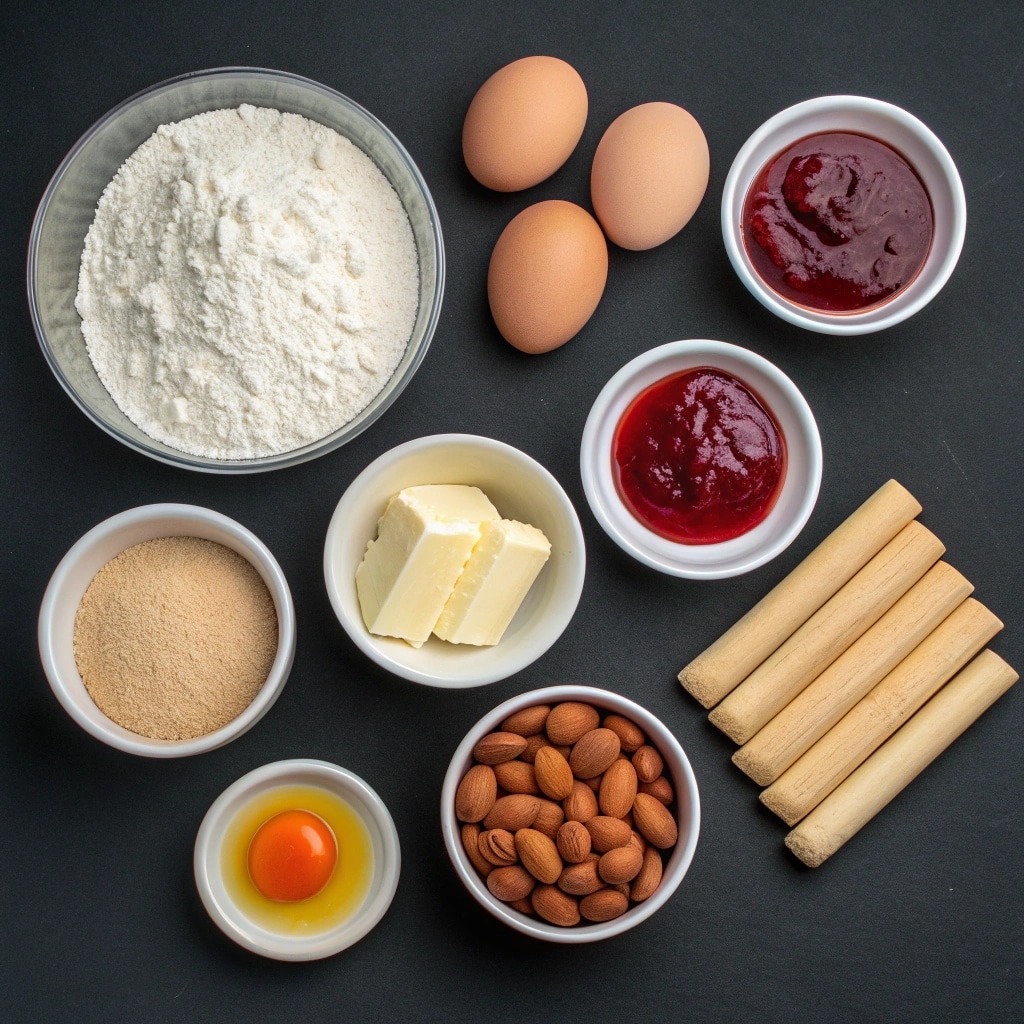
- 1 cup unsalted butter, softened
- 1 cup powdered sugar
- 1 large egg
- 1 teaspoon vanilla extract
- 1/2 teaspoon almond extract
- 3 cups all-purpose flour
- 1 teaspoon baking powder
- 1/2 teaspoon salt
- Green or black gel food coloring (optional)
- Whole almonds (for nails)
- Strawberry or raspberry jam (for blood effect)
Instructions
- Preheat oven to 350°F (175°C) and line a baking sheet with parchment paper.
- Cream together butter and powdered sugar until light and fluffy.
- Mix in egg, vanilla, and almond extract.
- In a separate bowl, whisk flour, baking powder, and salt. Gradually add to wet ingredients.
- If desired, add food coloring and mix until evenly distributed.
- Chill dough for 30 minutes for easier shaping.
- Roll dough into finger-shaped logs and press knuckle lines with a knife.
- Press an almond at one end for the nail.
- Place shaped fingers on prepared sheet and chill for 10 minutes.
- Bake 20–25 minutes until lightly golden at edges.
- Cool, then spread jam under the almond nails and around edges for a bloody effect.
- Optional: Brush knuckles with cocoa powder or edible paint for realism.
Notes
Chilling the dough is essential to prevent spreading. For nut-free variation, use pumpkin seeds instead of almonds.
- Prep Time: 30 minutes
- Cook Time: 25 minutes
- Category: Dessert
- Method: Baking
- Cuisine: Halloween Treats
In this article, I’ll guide you step by step through everything you need for truly believable Witch Finger Cookies. We’ll cover the best ingredients to get the right texture, how to shape fingers so they look, well, like fingers, and decorating tips that up the creepy factor. I’ll also share how to bake them to perfection, how to store them, and creative variations (think nut-free, fancy decorating, or alternate colors). By the end, you’ll be ready to bake, decorate, and impress (or spook!) your guests with cookies that taste as good as they look.
Ingredients & Preparation Essentials
When it comes to Witch Finger Cookies, the magic really starts with the ingredients. At their heart, these cookies are made from a buttery shortbread base. Using quality butter is essential because it provides both flavor and texture. Softened unsalted butter, creamed with sugar, creates that melt-in-your-mouth bite. All-purpose flour gives structure, while a touch of baking powder keeps the dough from being too dense. Almond extract or vanilla brings depth, and an optional dash of green food coloring adds an eerie tint to the “fingers.” Almonds make the perfect “nails,” and strawberry or raspberry jam doubles as the gory finishing touch. Just like in my pumpkin bars recipe, simple pantry staples can transform into something unforgettable.
Preparation is just as important as the ingredient list. Chilling the dough is one of the most crucial steps. Cold dough not only prevents spreading in the oven but also makes it easier to roll and shape each finger. I recommend dividing the dough into portions, rolling them into finger-like logs, and using a butter knife to press in knuckle lines for that lifelike effect. Don’t forget to press an almond into the tip before baking this helps it stay secure. For an even creepier presentation, paint the almond nails with red gel or jam after baking. Much like with my cozy pumpkin mac and cheese dish, little details go a long way in making the end result memorable.

By focusing on both the right ingredients and careful preparation, you’ll ensure your Witch Finger Cookies hold their shape, taste delicious, and look hauntingly realistic. In the next section, we’ll move into baking and decorating tips to perfect the creepy charm.
Baking & Decoration
The baking step is where your Witch Finger Cookies start to come alive. Preheat your oven to 350°F and make sure it’s fully warmed before sliding in the tray. Place the shaped fingers on a parchment-lined sheet, leaving a bit of space between each one. Bake for 20–25 minutes, or until the edges are lightly golden. The trick is to avoid overbaking; you want the cookies to hold their creepy form without drying out. If you notice spreading, chilling the shaped dough for 10–15 minutes before baking helps keep the fingers slim and realistic. I follow a similar process when making my pumpkin soup, where careful timing ensures the perfect consistency.
Once baked and cooled, it’s time to decorate. This is where the cookies transform from tasty shortbread into eerie treats. Strawberry jam, raspberry preserves, or red gel icing create the perfect “bloody” detail. Spread a little under each almond nail so it oozes slightly for dramatic effect. You can also brush the knuckle creases with cocoa powder or edible paint to add depth and realism. For a spooky twist, tint some of the dough green or even black for a scarier presentation. Just as presentation elevates a bowl of pumpkin curry, these little flourishes turn simple cookies into showstoppers.
Take your time with the finishing touches, because the decoration is what makes these cookies so memorable. Whether you’re hosting a Halloween party or surprising friends, the sight of a plate full of Witch Finger Cookies, complete with almond nails and “bloody” edges, will always get a reaction. In the next section, we’ll cover serving ideas, storage, and a few fun variations to try.

Serving, Storage & Variations
Once your Witch Finger Cookies are baked and decorated, it’s time to think about how to serve them. Presentation is half the fun with these spooky treats. Arrange the cookies on a dark platter lined with parchment, letting a little “blood” drip for dramatic effect. Pair them with warm apple cider, hot chocolate, or even a spooky punch for a complete Halloween spread. If you’re building a themed dessert table, mix them with other seasonal treats like pumpkin chili or pumpkin dip to balance sweet and savory. The combination not only looks festive but also ensures there’s something for everyone.
Storage is straightforward, but it makes all the difference in keeping your cookies fresh. Once cooled completely, place them in an airtight container lined with wax paper. At room temperature, they’ll stay fresh for up to a week. For longer storage, freeze the unbaked dough logs or shaped fingers, then bake them straight from the freezer with just a couple of extra minutes added to the time.
This trick comes in handy when you’re preparing for a big party. You can also experiment with fun variations: swap almond nails for pumpkin seeds if you need a nut-free option, try matcha powder for green fingers, or use chocolate dough for an even scarier look. Much like I’ve experimented with pumpkin cake and pumpkin bars, small tweaks here can completely transform the experience.
Serving Witch Finger Cookies is about more than just taste it’s about creating a moment. With a little creativity, you can make them the highlight of your Halloween table, while storage and variations ensure they’re as practical as they are fun.

FAQ
How do you make witch finger cookies look realistic?
The key is in the shaping and details. Roll the dough into thin logs, press knuckle lines with a knife, and add an almond at the tip for the nail. Brushing grooves with cocoa powder or food coloring adds extra realism.
Can I make witch finger cookies ahead of time?
Yes, you can! Shape the dough into fingers and refrigerate them for up to 2 days before baking. You can also freeze the shaped dough and bake when needed, adding a few minutes to the bake time.
What food coloring works best for witch finger cookies?
Gel-based food coloring works best because it delivers vibrant shades without altering dough texture. Green and black gels are the most popular for spooky fingers.
How do you store witch finger cookies to keep them fresh?
Once cooled, place the cookies in an airtight container with wax paper between layers. They’ll last up to 7 days at room temperature. For longer storage, freeze baked cookies or raw dough for up to 2 months.
Conclusion
Baking Witch Finger Cookies is one of those kitchen projects that combines fun, flavor, and a touch of spookiness. With just a handful of ingredients and some creative shaping, you can turn a classic shortbread dough into cookies that grab attention at any Halloween gathering. From the buttery base to the almond “nails” and jam “blood,” every detail contributes to their creepy charm.
What I love most about this recipe is how versatile it can be. You can keep it classic with almond nails and red jam or switch it up with food coloring, seeds, or chocolate variations. They store well, can be made ahead, and are guaranteed to bring smiles (and maybe a few shivers).
Whether you’re hosting a party, baking with kids, or just want something festive for the season, Witch Finger Cookies deliver. They’re the perfect mix of eerie appearance and irresistible taste a true Halloween classic. Bake a batch, have fun with the decorations, and let these cookies become a memorable part of your fall traditions.
If you’re looking for another family-friendly idea, check out my on Facebook for fresh new recipes, cooking tips, and food inspiration every week!

